Some users find the Carbonio CE web client to be perfectly adequate for managing their emails, address books, and calendars. However, MacOS users may prefer to rely on built-in or third-party applications to achieve the same functionality on their devices. In this article, we will talk about how to do this in the Apple operating system, as well as the pitfalls that you may encounter in the process of connecting data sources. This guide only covers free apps.
Mac Mail
The built-in Mac OS client supports connection to the mail server via IMAP and POP3 protocols. You must set up your account in the System Preferences application under Internet Accounts.
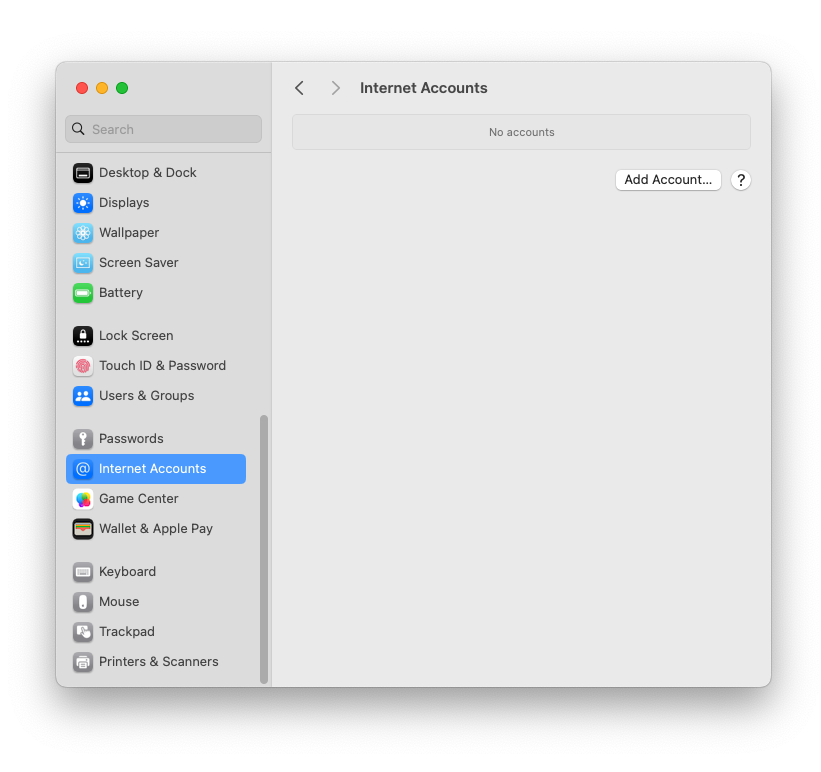
In this section, click on the “Add Account…” button and select “Add Other Account…” in the list that appears. Select “Mail Account…” and enter your display name, your account name, and password in the window that opens.

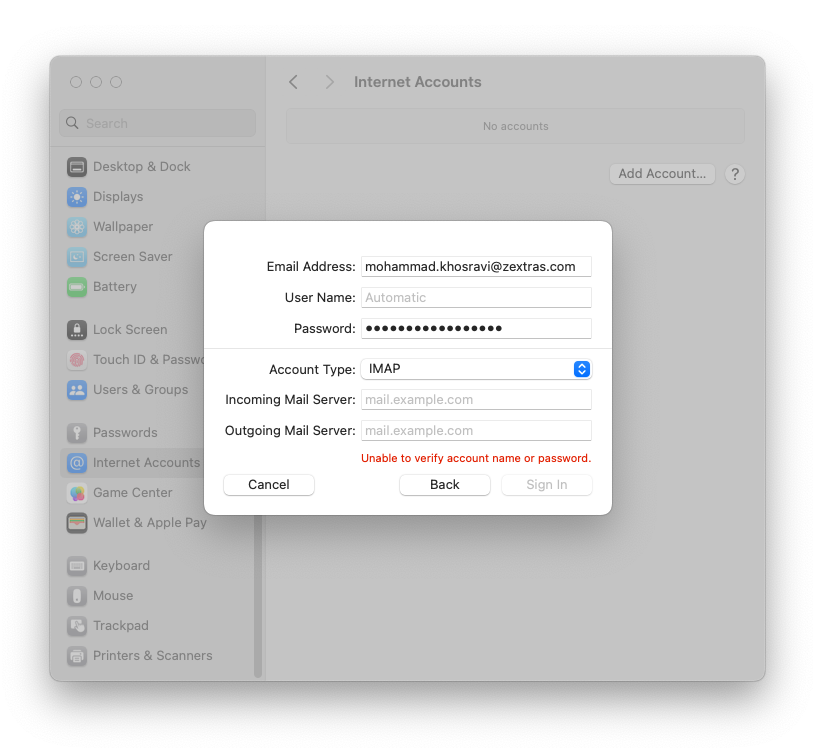
After the application fails to auto-configure the account, enter the details of the email server, and also select the protocol by which the connection will be made. Please note that the address of the IMAP/POP3 server may differ from the name of the SMTP server, therefore, before starting the setup, it is better to check with the administrator in advance which addresses should be used during the setup.
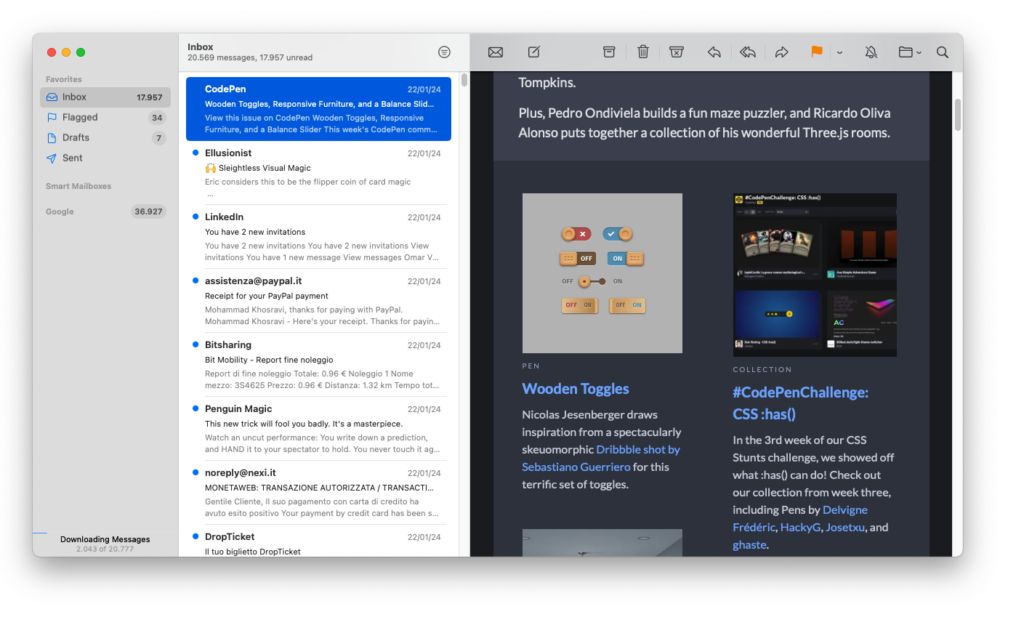
After entering the credentials, select the applications that will use the account and click “Finish”. Your account will then be available in the Mail app.
Mac Calendar
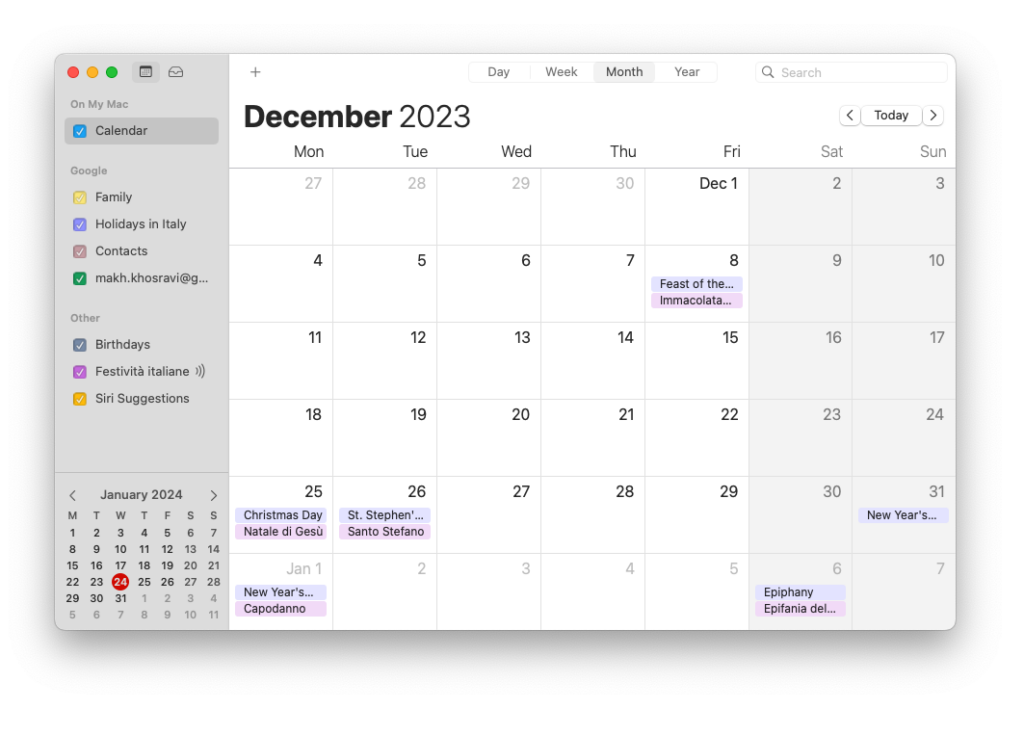
Calendar data is transmitted using the CalDAV protocol. Its setting is also available in the System Preferences app under Internet Accounts.
In this section, click on the “Add Account…” button and select “Add Other Account…” in the list that appears. Select “CalDAV Account”.
In the window that opens, select “Account type – Manual” and also enter the account name, password, and server address, which is the same as the POP3/IMAP server address. Click Sign In and select the apps that will use your account.

A feature of this application on MacOS is that in connected calendars when creating appointments, it is not supported to display the free/busy data of participants in appointments and meetings when they are created.
Mac Contacts
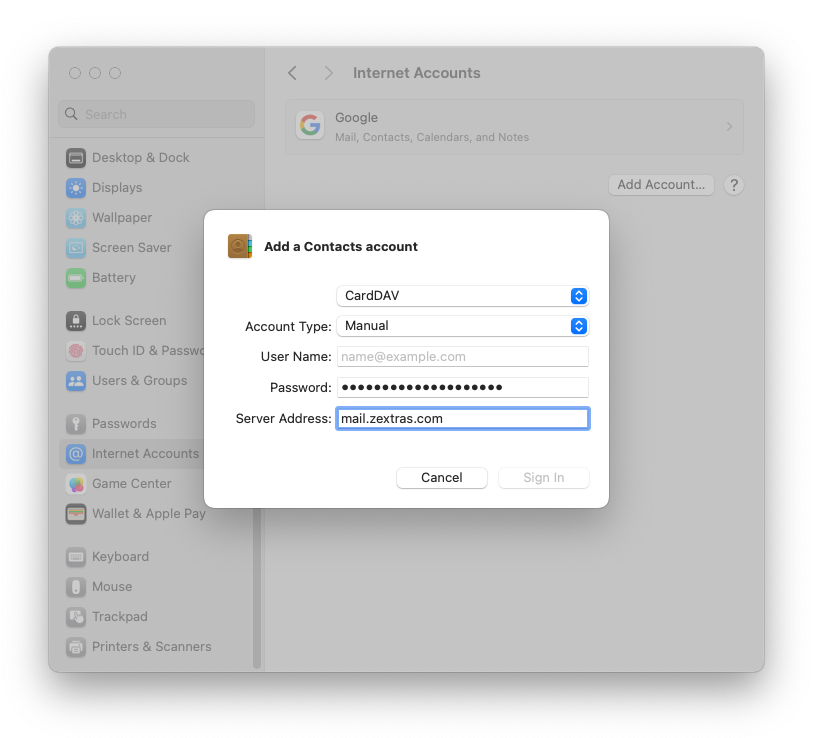
Calendar data is transmitted using the CardDAV protocol. Its setting is also available in the System Preferences app under Internet Accounts.
In this section, click on the “Add Account…” button and select “Add Other Account…” in the list that appears. Select “CardDAV Account”.
In the window that opens, select “Account type – Manual” and also enter the account name, password, and server address, which is the same as the POP3/IMAP server address. Click “Login” to start using your address book.
A feature of this application in MacOS is that it supports connecting only one – the last address book created in the account. If there are additional or shared address books, you will not be able to connect them in this application.
Thunderbird for Mac
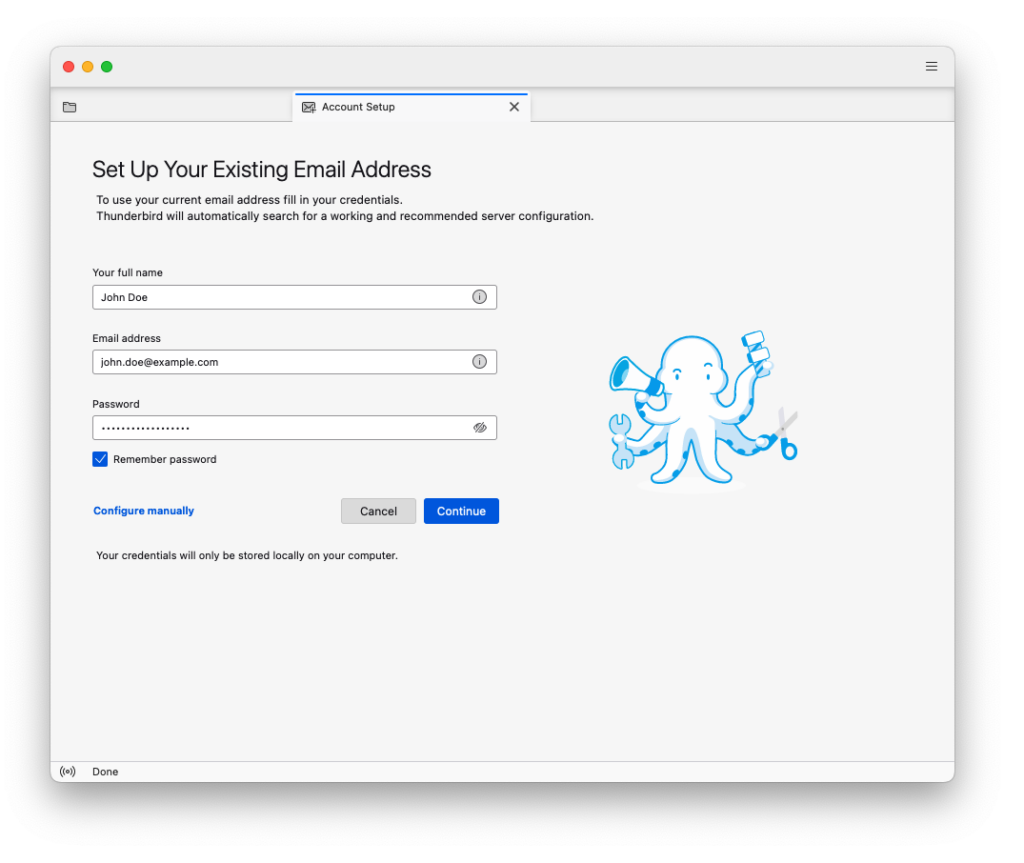
You can also connect your mailbox, address books, and calendars in this free and open-source email client. A significant advantage of this solution is full support for the CardDAV protocol and the ability to connect all Carbonio address books without exception. In addition, it has support for account auto-configuration if configured.
If auto-configuration is configured, or the IMAP/POP3 and SMTP server addresses match the typical names, it will be enough just to enter the display name, account name, and password, after which it will be possible to connect to the mail server. If this is not the case, you will have to manually configure the account by specifying addresses, ports, encryption type, and authentication mechanism. Typically, port 993 and SSL/TLS encryption are used for IMAP, and ports 465 and 587 are used for SMTP with SSL/TLS and STARTTLS encryption, respectively. POP3 connections typically use port 995 and SSL/TLS encryption.
After a successful login, you will be prompted to configure the connection of calendars and address books using the CalDAV and CardDAV protocols, respectively.
To connect to calendars, select “Connect to a remote calendar” and in the window that opens, select the location of the calendar as “Online”. Enter the username and specify the CalDAV server address with /dav/User_Name appendix, for example mail.example.tld/dav/user@example.tld.
After entering the password in the window that appears, a list of calendars available for connection will appear. Select the calendars you want to connect and click on the “Subscribe” button. This completes the connection of calendars.
To connect to address books, select “Connect to CardDAV Address Book”. Enter the username and specify the CalDAV server address with /dav/User_Name appendix, for example mail.example.tld/dav/user@example.tld.
After entering the password, a list of address books for connection will be displayed in the window that appears. Select the address books you need and click the “Continue” button. This completes the connection of address books.
Another convenient way to connect address books and calendars is the TbSync extension for Thunderbird. Install it and the “Provider for CalDAV & CardDAV” extension and click on “TbSync: Pending” in the lower right corner of the Thunderbird window to open the account creation dialog.
In the window that opens, select “Account Actions – Add New Account – CalDAV & CardDAV”.
In the window that opens, double-click “User Configuration” and enter your display name, account name, password, and specify the addresses of the CalDAV and CardDAV servers with the appendix /dav/, for example, mail.example.tld/dav/.
After successfully adding an account, check the box “Allow and sync this account” to display a list of all available CalDAV and CardDAV resources. Mark the calendars and address books you need, and also set the period for their synchronization with the server. Click on the “Sync now” button to synchronize data between client and server.
The advantage of using TbSync compared to the mechanism built into Thunderbird is the automatic synchronization of not only data from the marked resources but also the list of resources themselves, which facilitates the process of connecting resources created after setting up the mail client.
Calendars connected to Thunderbird correctly display users’ free/busy information, which greatly simplifies the process of creating appointments and meetings.
Using this manual, Mac OS users can independently configure their devices to work with the Carbonio mail server.