The previous article showed you how to deploy a Carbonio server in a demo environment. It was meant for testing purposes and used dnsmasq to resolve A and MX records. As explained in the article, you need a static IP address. This article will show you how to quickly and correctly configure a static IP address on your Ubuntu server.
Let’s Get Info
Let’s find out more about the network interfaces of your machine. For that purpose, you can use the command:
ip addrThe result would be different based on how many network adapters you have and the operating system you use, but usually, you’ll find them in eth# or enp#s# format like below (look at number 2):
# ip addr
1: lo: {LOOPBACK,UP,LONER_UP} mtu 65536 qdisc noqueue state UNKNONN
    link/loopback 00:00:00:00:00:00 brd 00:00:00:00:00:00
    inet 127.0.0.1/8 scope host lo
       valid_lft forever preferred_lft forever
    inet6 ::1/128 scope host
       valid_lft forever preferred_lft forever
2: enp0s3: <BROADCAST,MULTICAST,UP,LOWER_UP> mtu 1500 qdisc pfifo_fast state UP qlen 1000
    link/ether 00:00:27:b8:cd:33 brd ff:ff:ff:ff:ff:ff
    inet 192.168.0.102/24 brd 192.168.0.255 scope global dynamic enp0s3
       valid_lft 5233sec preferred_lft 5233sec
    inet6 fe80::a00:27ff:feb8:cd33/64 scope link
       valid_lft forever preferred_lft forever
Note: The result may be different whether or not you’re running the operating system on a virtual machine, and the difference is in the number of interfaces. If you’re using a virtual machine you must first add another new network adapter on your virtual machine and set it to Host-only. One adapter is used to connect to the internet while the static IP address is assigned to the second one. Let’s see some examples:
If you’re not using a virtual machine, you see something like the left image while the right image is when a virtual machine is used
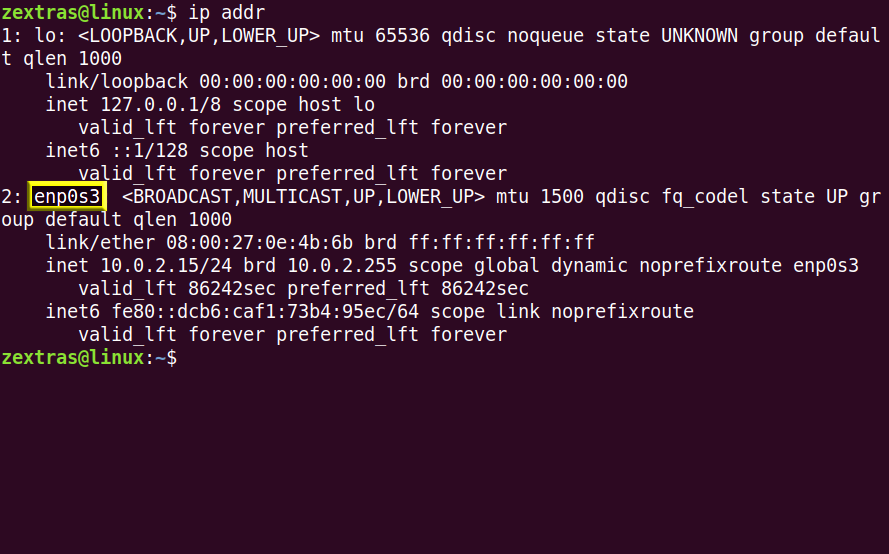
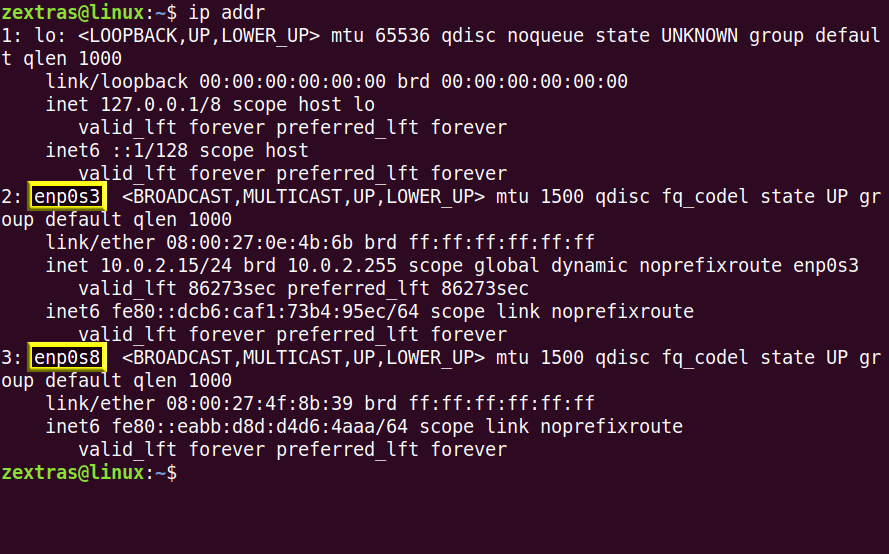
In the left image, one of the network interfaces is called enp0s3 (alternatively you may find it under the name eth0) which is the one that came with the installation of the operating system and we are going to assign a static IP to it. On the other hand, in the right image, there is an extra interface, enp0s3, and enp0s8 (alternatively you may find them under the names eth0 and eth1). The network interface enp0s3 (alternatively eth0) is the existing one and we are going to use it to connect to the internet while the network interface enp0s8 (alternatively eth1) is the one we created by adding a new network adapter that you are going to use to set our static IP.
Configuring the Static IP
To assign a static IP to a network interface, we can directly modify the configurations of the network interface. In Ubuntu, the network configurations are .yaml files inside the netplan folder. We can simply create or modify a .yaml description for the required network interfaces and define what each should do.
Let’s list all the files inside the netplan folder since the name of the file can vary from machine to machine:
ls /etc/netplanLet’s say the name of the file is yourFile.yaml. Open it using your favorite text editor:
nano /etc/netplan/yourFile.yamlBefore any configuration the file looks like this:
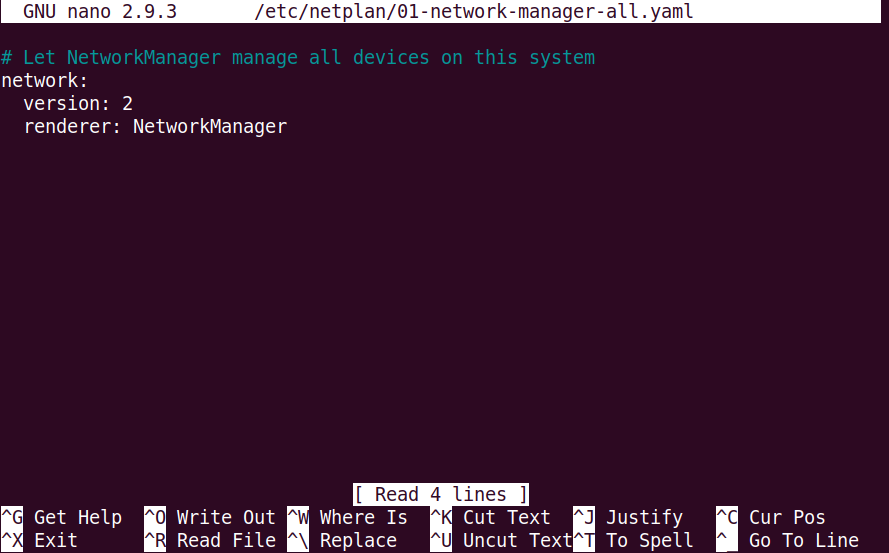
Note: To edit .yaml files, it’s very important to pay attention to the indentations otherwise, netplan won’t read the configurations correctly. Moreover, the indentations must be done only using space characters, not tab characters.
If you don’t use a virtual machine, there should be only one interface to configure. Let’s say yours is yourInterface instead of enp0s3 or eth0. Modify the .yaml file to set these configurations for the network interface:
network:
    ethernets:
        yourInterface:
            dhcp4: false
            addresses: [yourStaticIP/24]
    version: 2
Where yourInterface should be replaced by the name of your network interface to which you want to assign the static IP. The yourStaticIP should be replaced by the IP address you want to set for your machine.
Alternatively, if you use a virtual machine, there should be two interfaces to configure, say yourInterfaceA and yourInterfaceB. The configurations should look like this:
network:
ethernets:
yourInterfaceA:
dhcp4: true
yourInterfaceB:
dhcp4: false
addresses: [yourStaticIP/24]
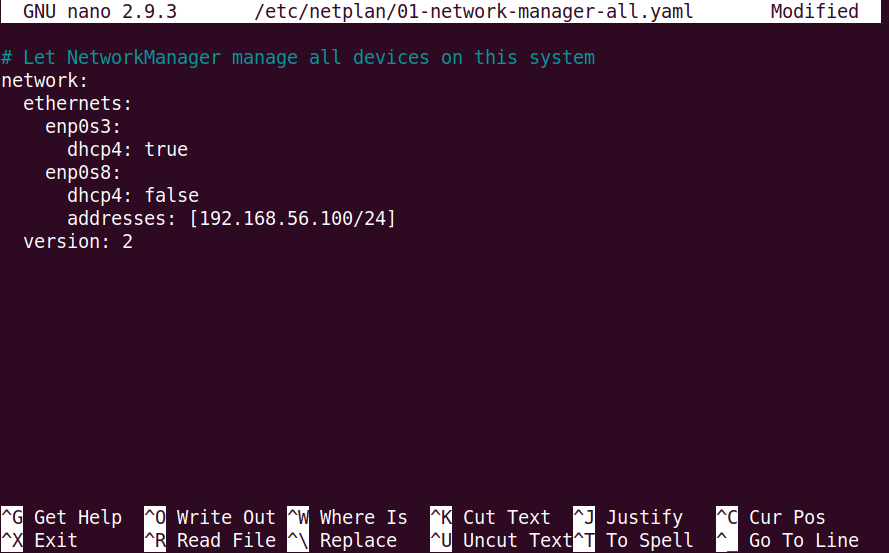
version: 2Where yourInterfaceA with the dhcp4: true is the name of your existing network interface and yourInterfaceB with dhcp4: false is the one you created by adding a new network adapter for the static IP. The yourStaticIP should be replaced by the IP address you want to set for your machine. Something like:
Then we apply the netplan modifications by
netplan applyNow let’s check the network interfaces again by:
ip addrYou’ll again see something like this:
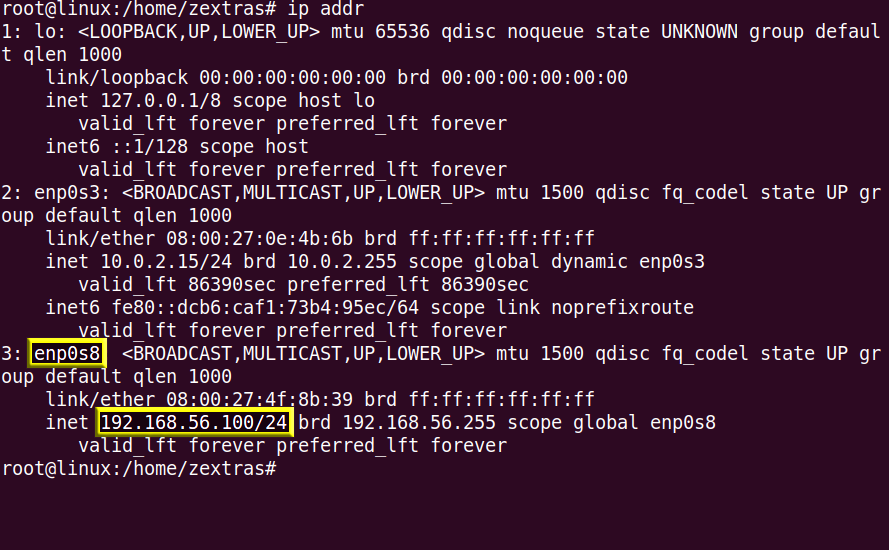
This time, we’re expecting to see the static IP address under the corresponding network interface.