For additional guidance, check out our community articles detailing the process of migrating from your current platform to Carbonio CE.
For enterprise-level requirements and advanced features, consider checking out Zextras Carbonio – the all-in-one private digital workplace designed for digital sovereignty trusted by the public sector, telcos, and regulated industries.
An email signature is a text or image at the end of the mail that usually includes the writer’s name or any other customized text. If you write several emails every day you will find email signatures extremely useful since you won’t need to type your name, title, or other repetitive texts every time. Email signatures also help your emails look consistent through time and a unique formatted text or an image can make your emails look more significant and formal.
To include an automatic signature at the end of your emails you should,
- Create the signature,
- Add the signature to an account or persona.
Creating A Signature
You can create a signature for your emails through the Zimbra web client. To do so,
- Log in to your Zimbra web client,
- Go to the Preferences tab,
- Go to Signatures from the left pane,
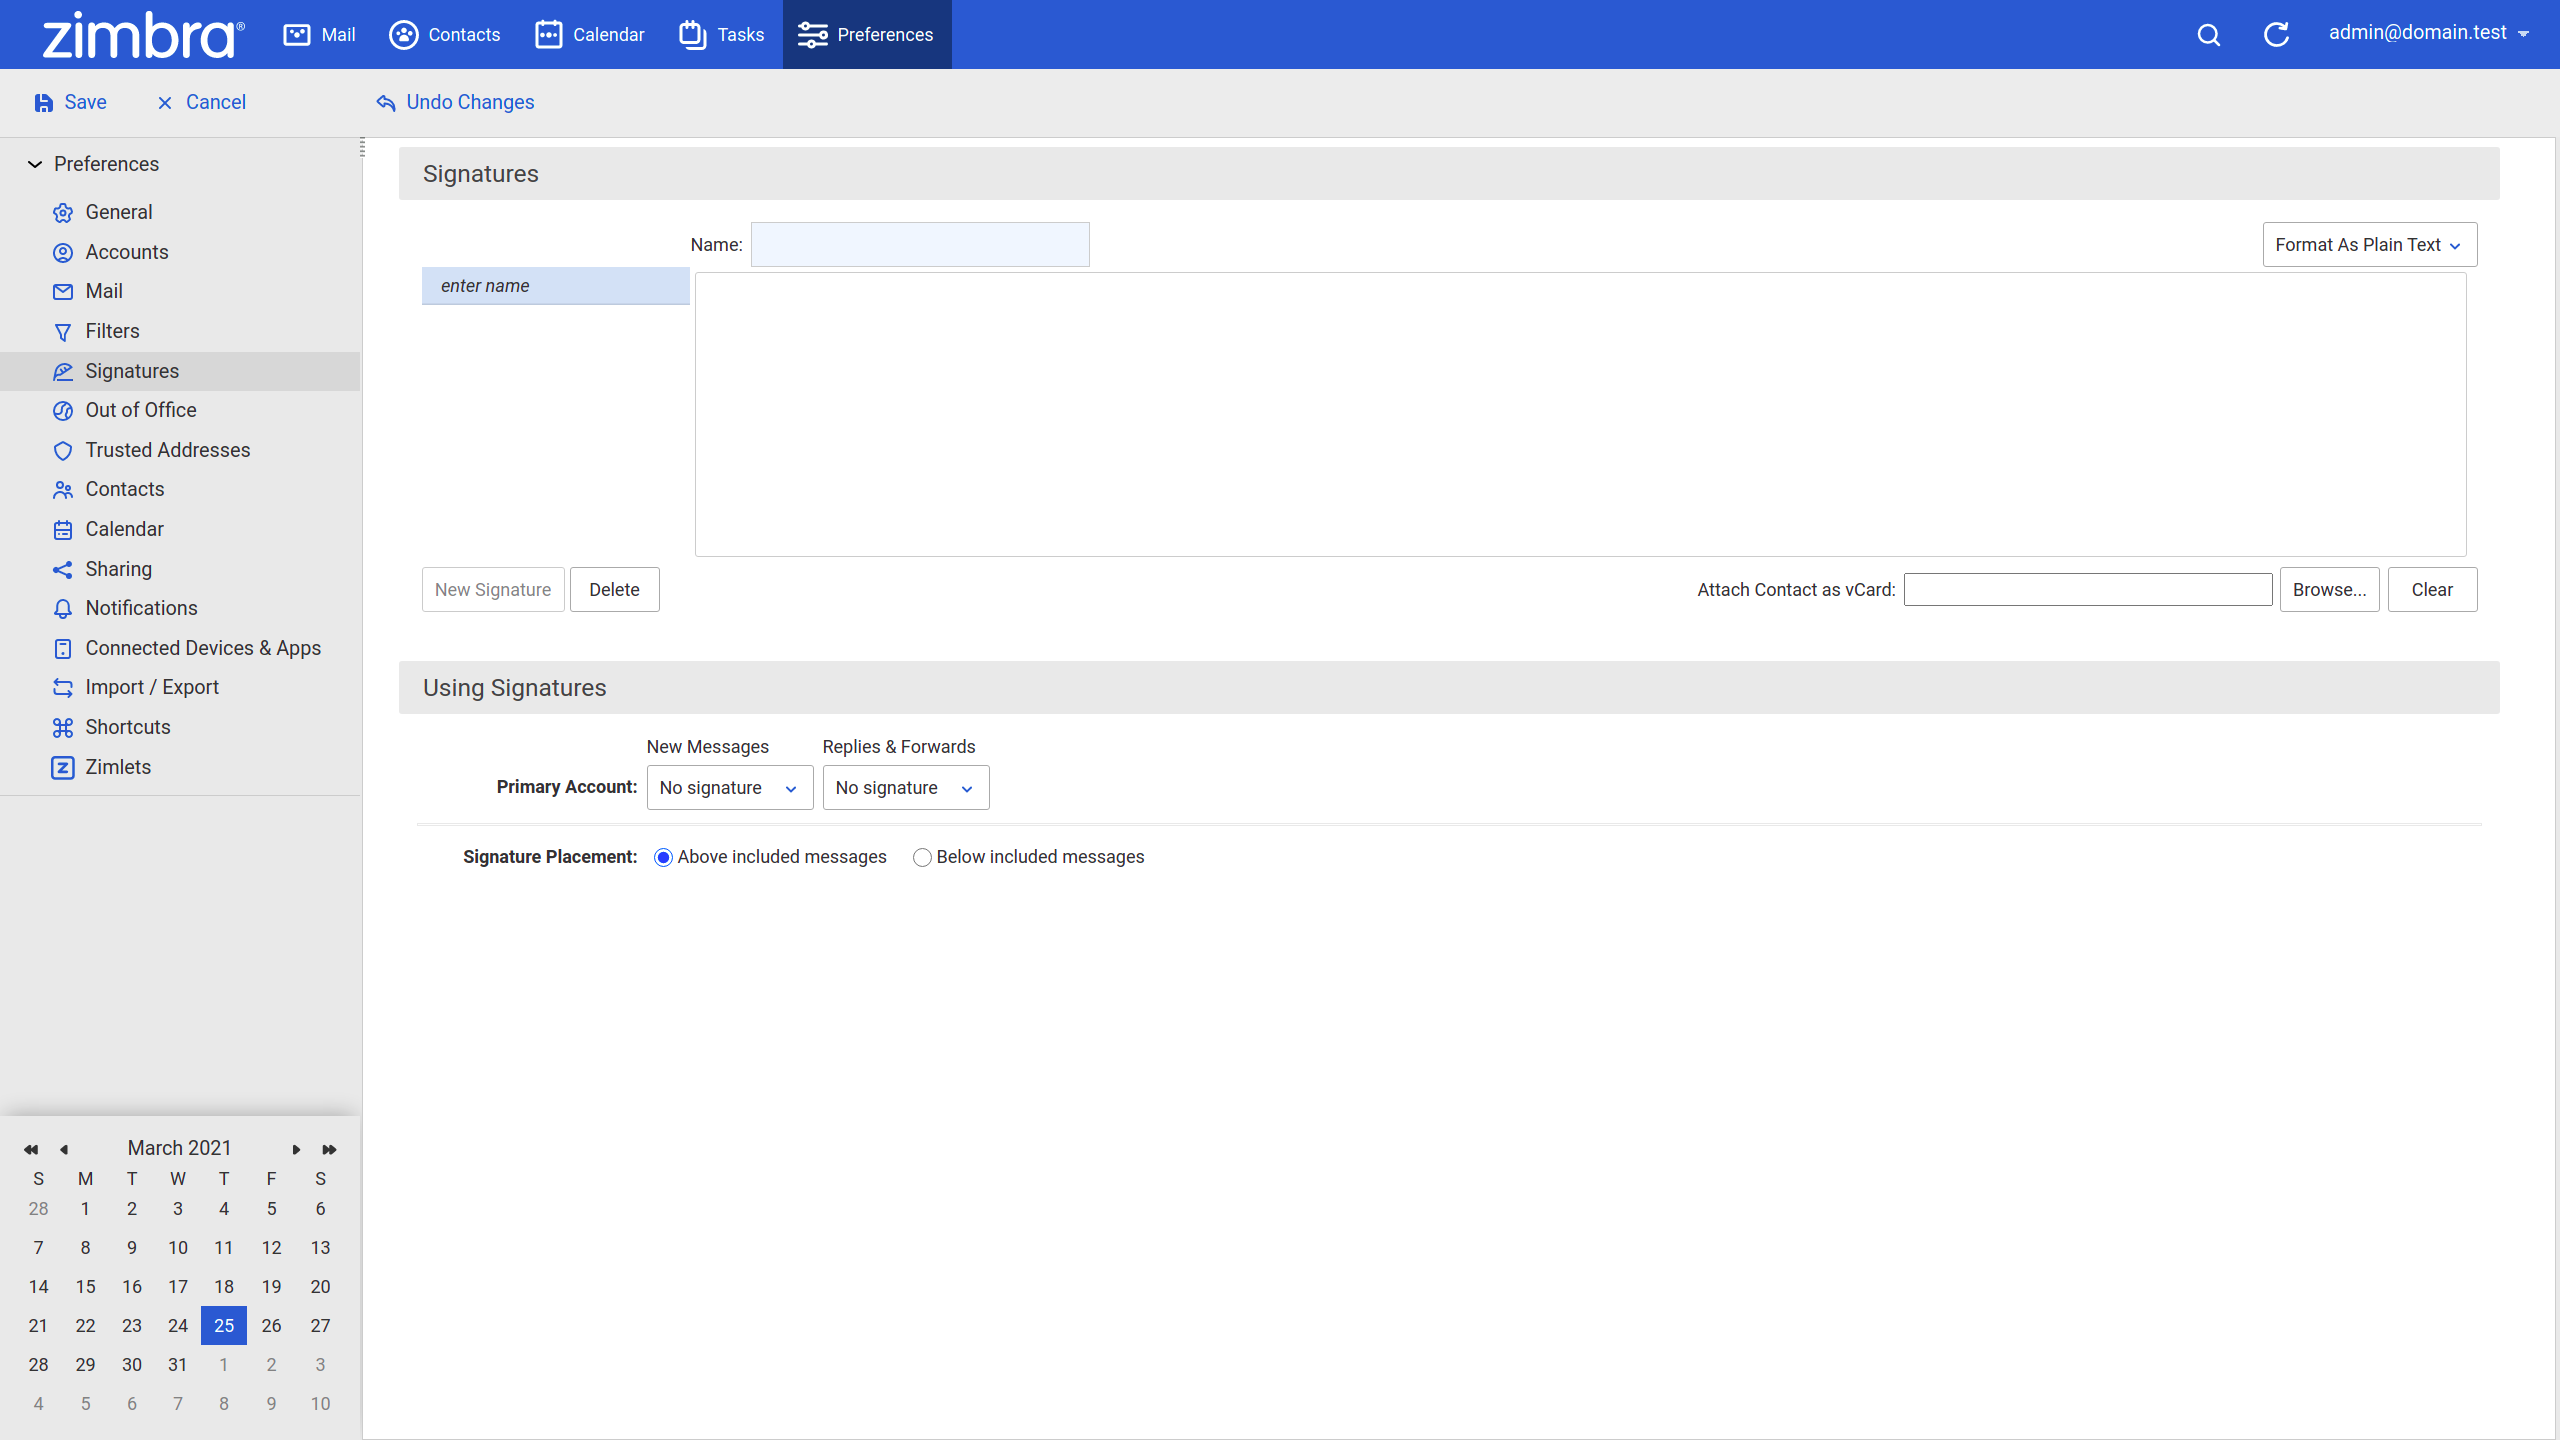
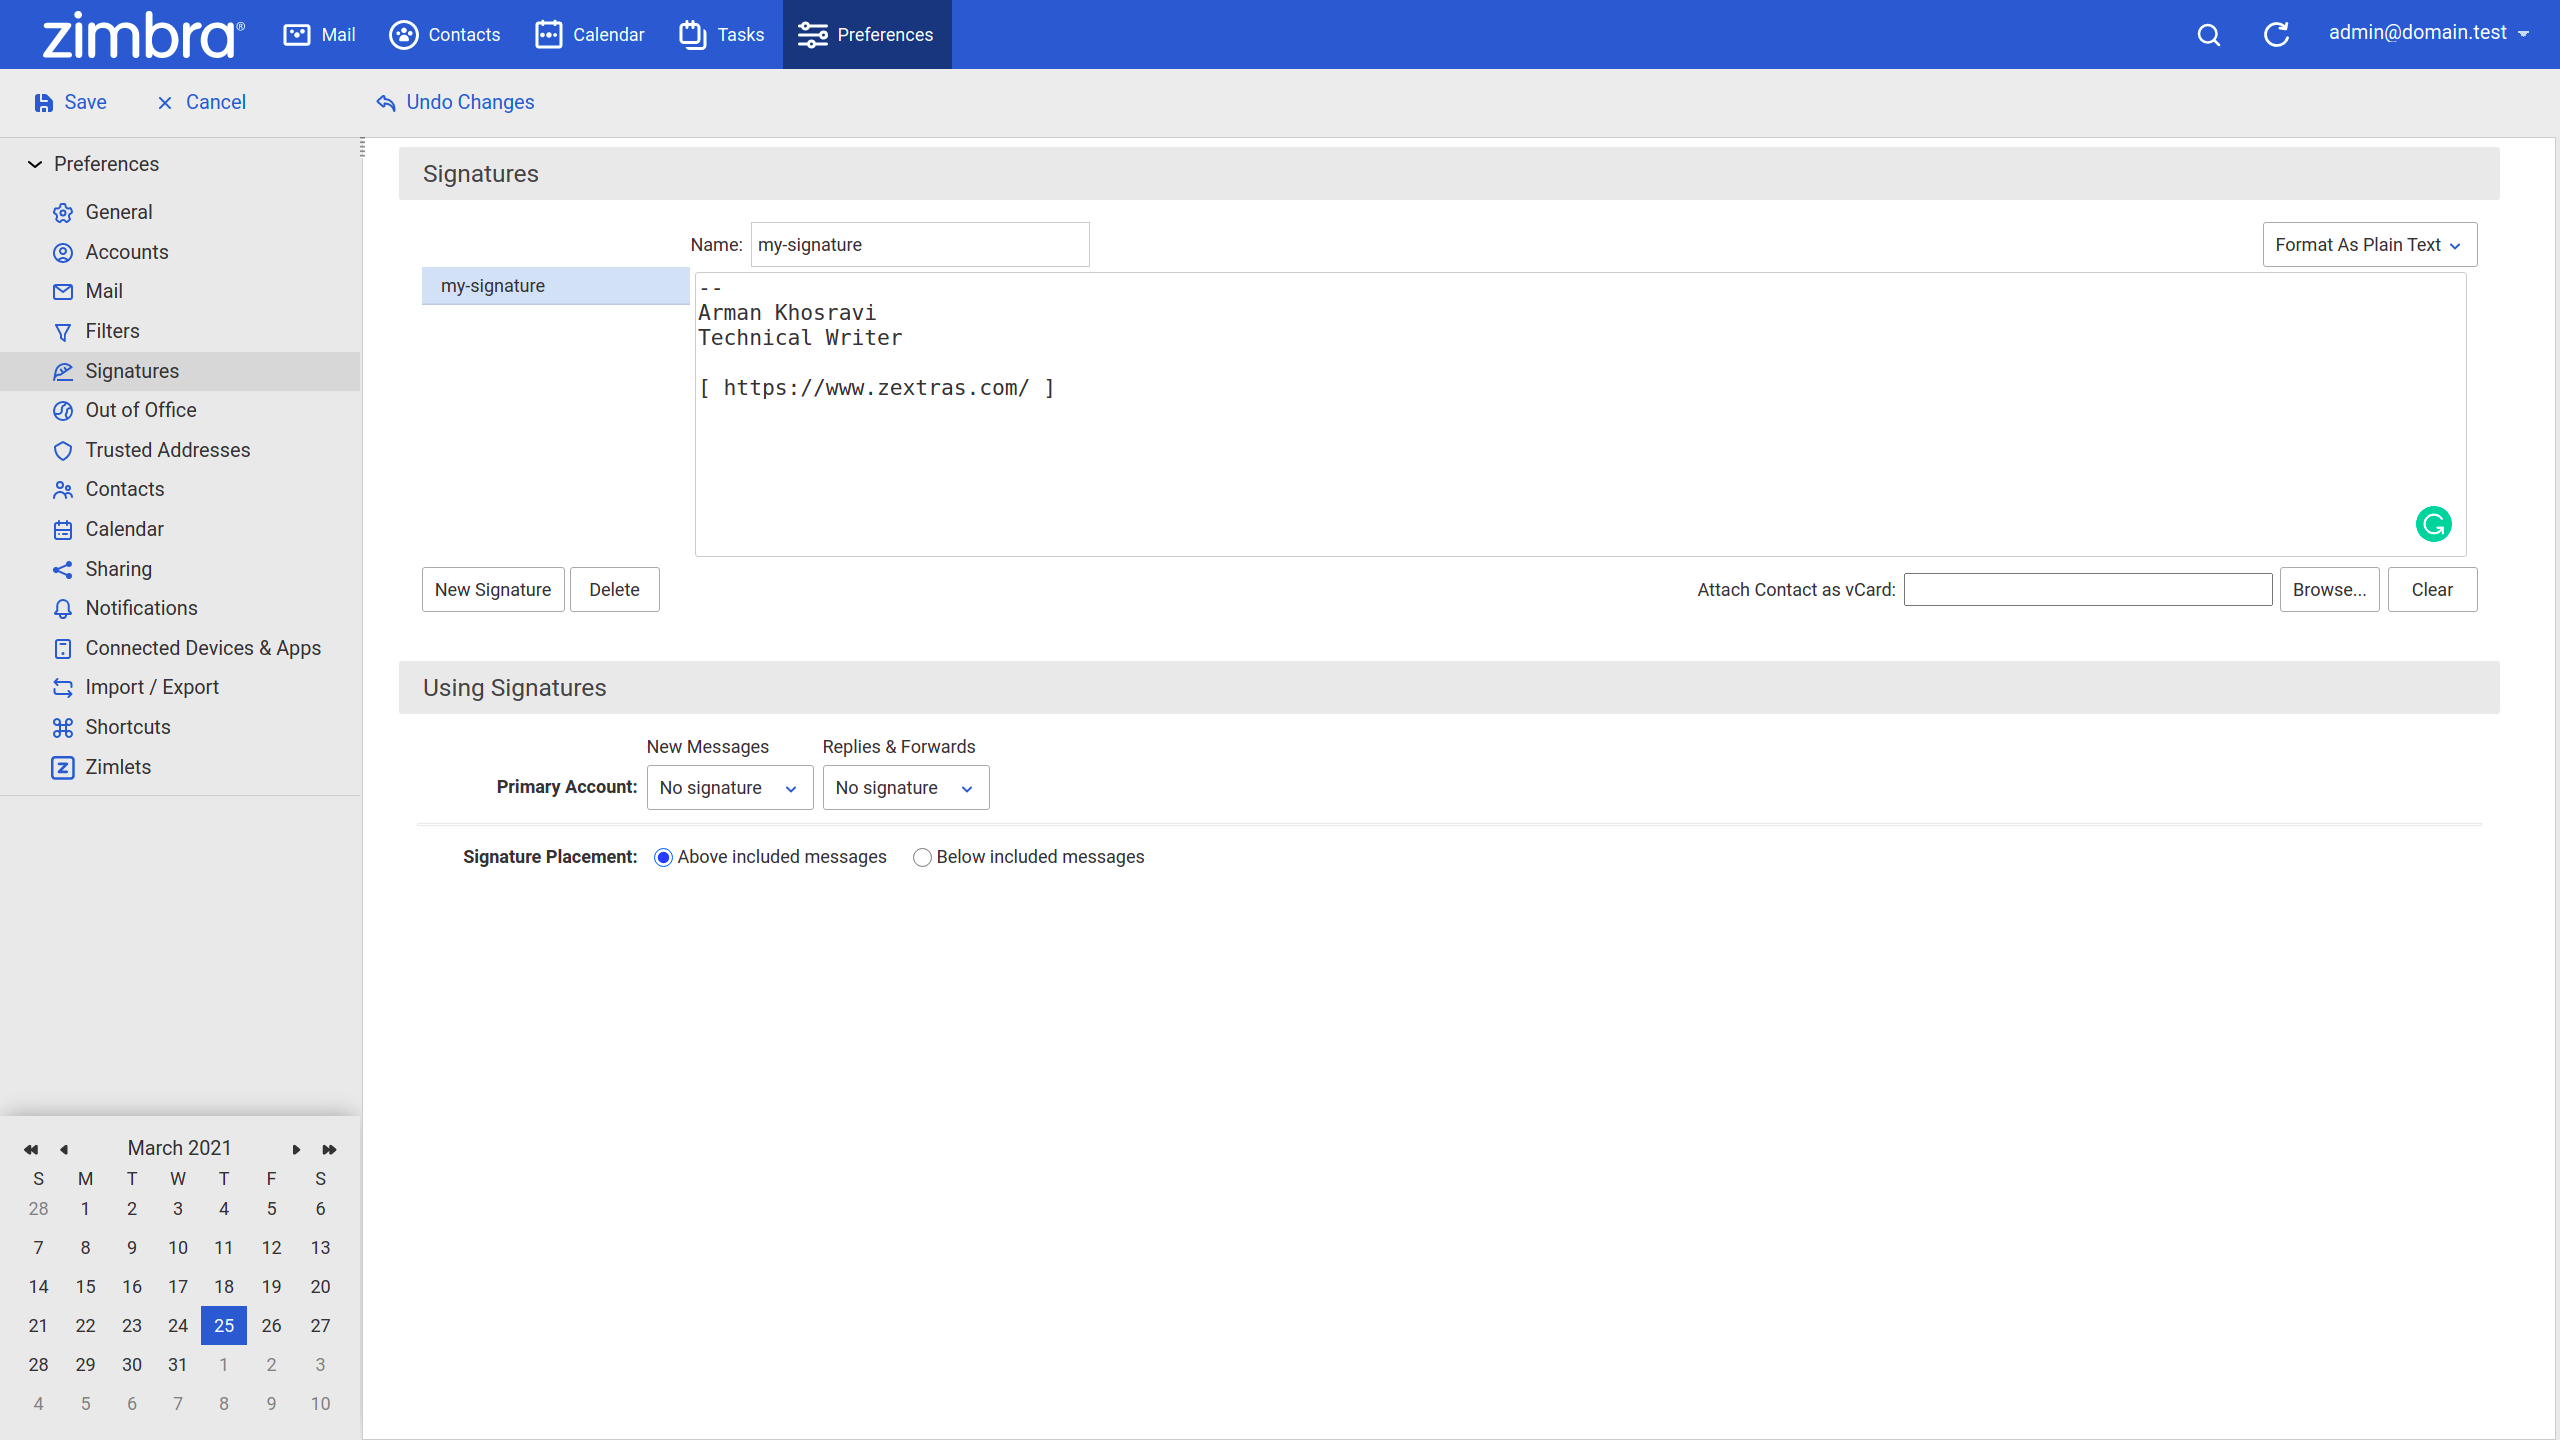
- In the Signatures section, insert a name in the Name text box, to identify the signature you want to create,
- In the drop-down menu on the right, choose either Format As Plain Text or Format As HTML,
- In the text box, type and format the text of the signature.
You can also include an image or a link in your signature. To do so follow the same instruction but in the drop-down menu on the right, choose Format As HTML, and add images and create links to your signature text.
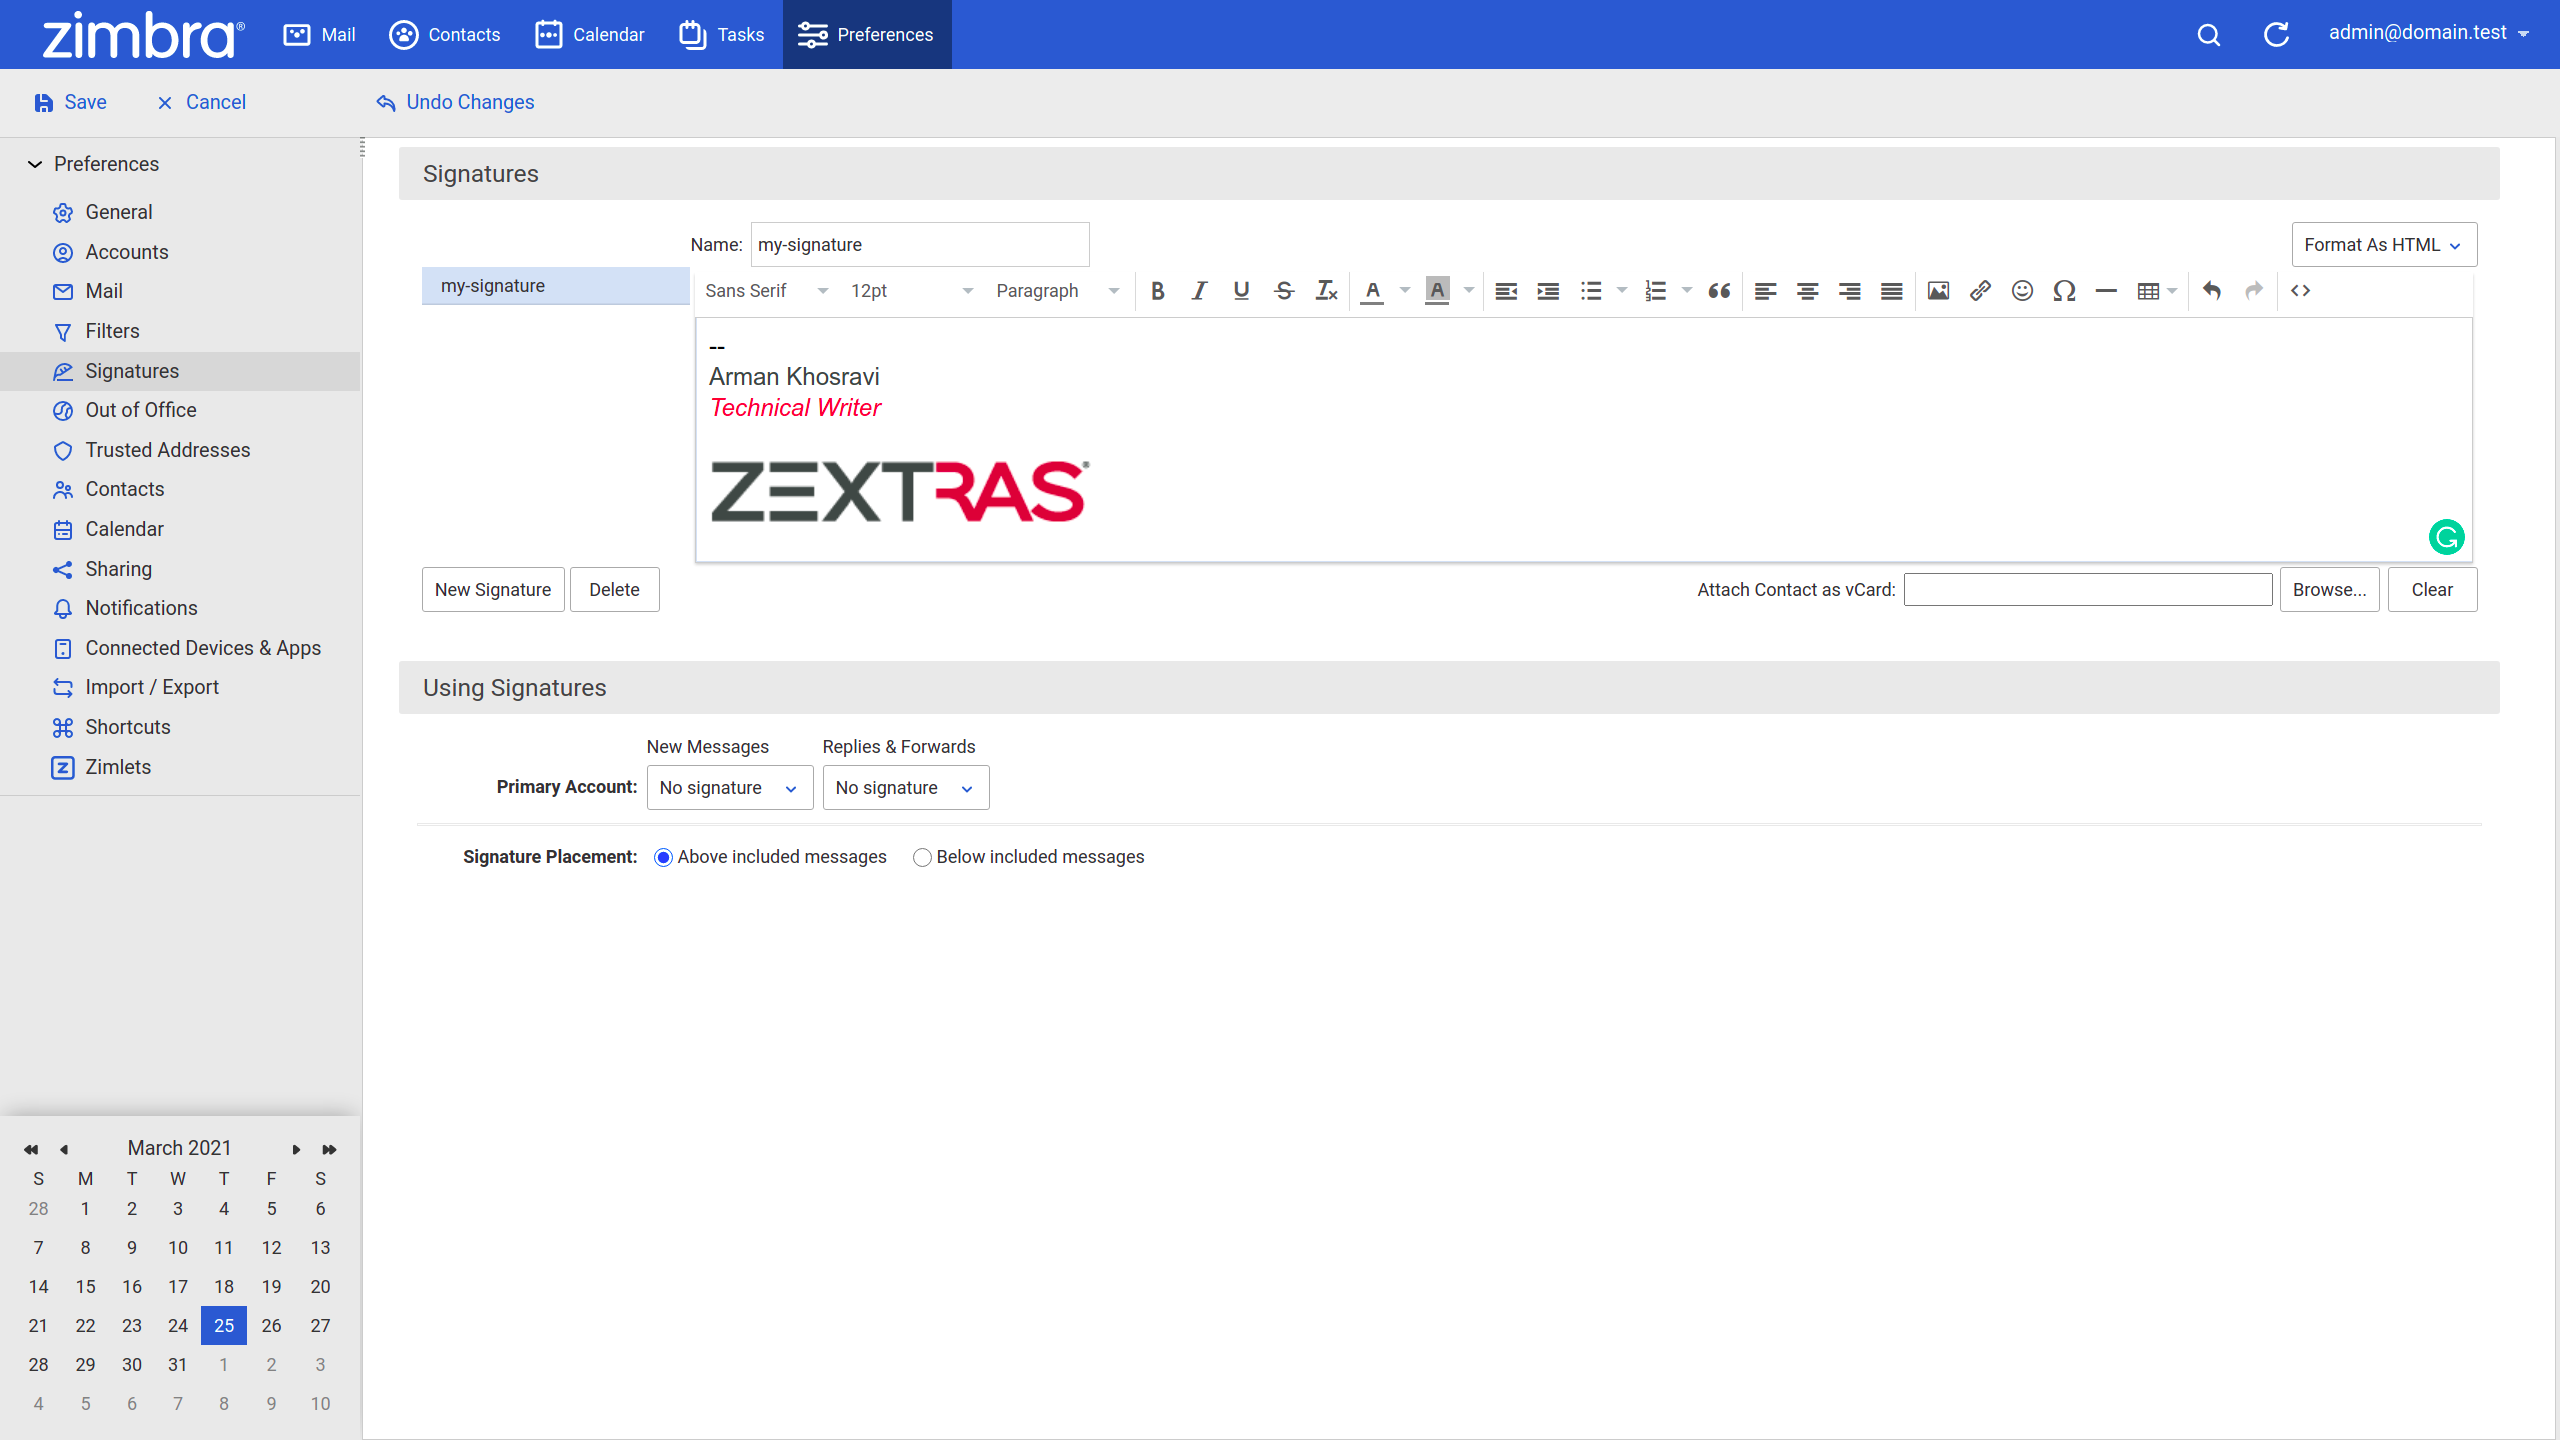
Note: Including an image by the Insert Images button is an easy procedure, however in this case every email will be sent with an attachment every time you compose, reply, or forward an email. A better solution is to link to an image using the Insert/edit link button.
As previously said, after you created the signature successfully, you need to add that to one or more of your accounts or personas as follows.
Adding The Signature To An Account Or Persona
- Log in to your Zimbra web client.
- Go to the Preferences tab.
- Go to Signatures from the left pane.
- In the Using Signatures section, find the account or persona that should contain the signature you have created.
- Select the name of the signature from the New Messages drop-down menu to include this signature in newly composed messages.
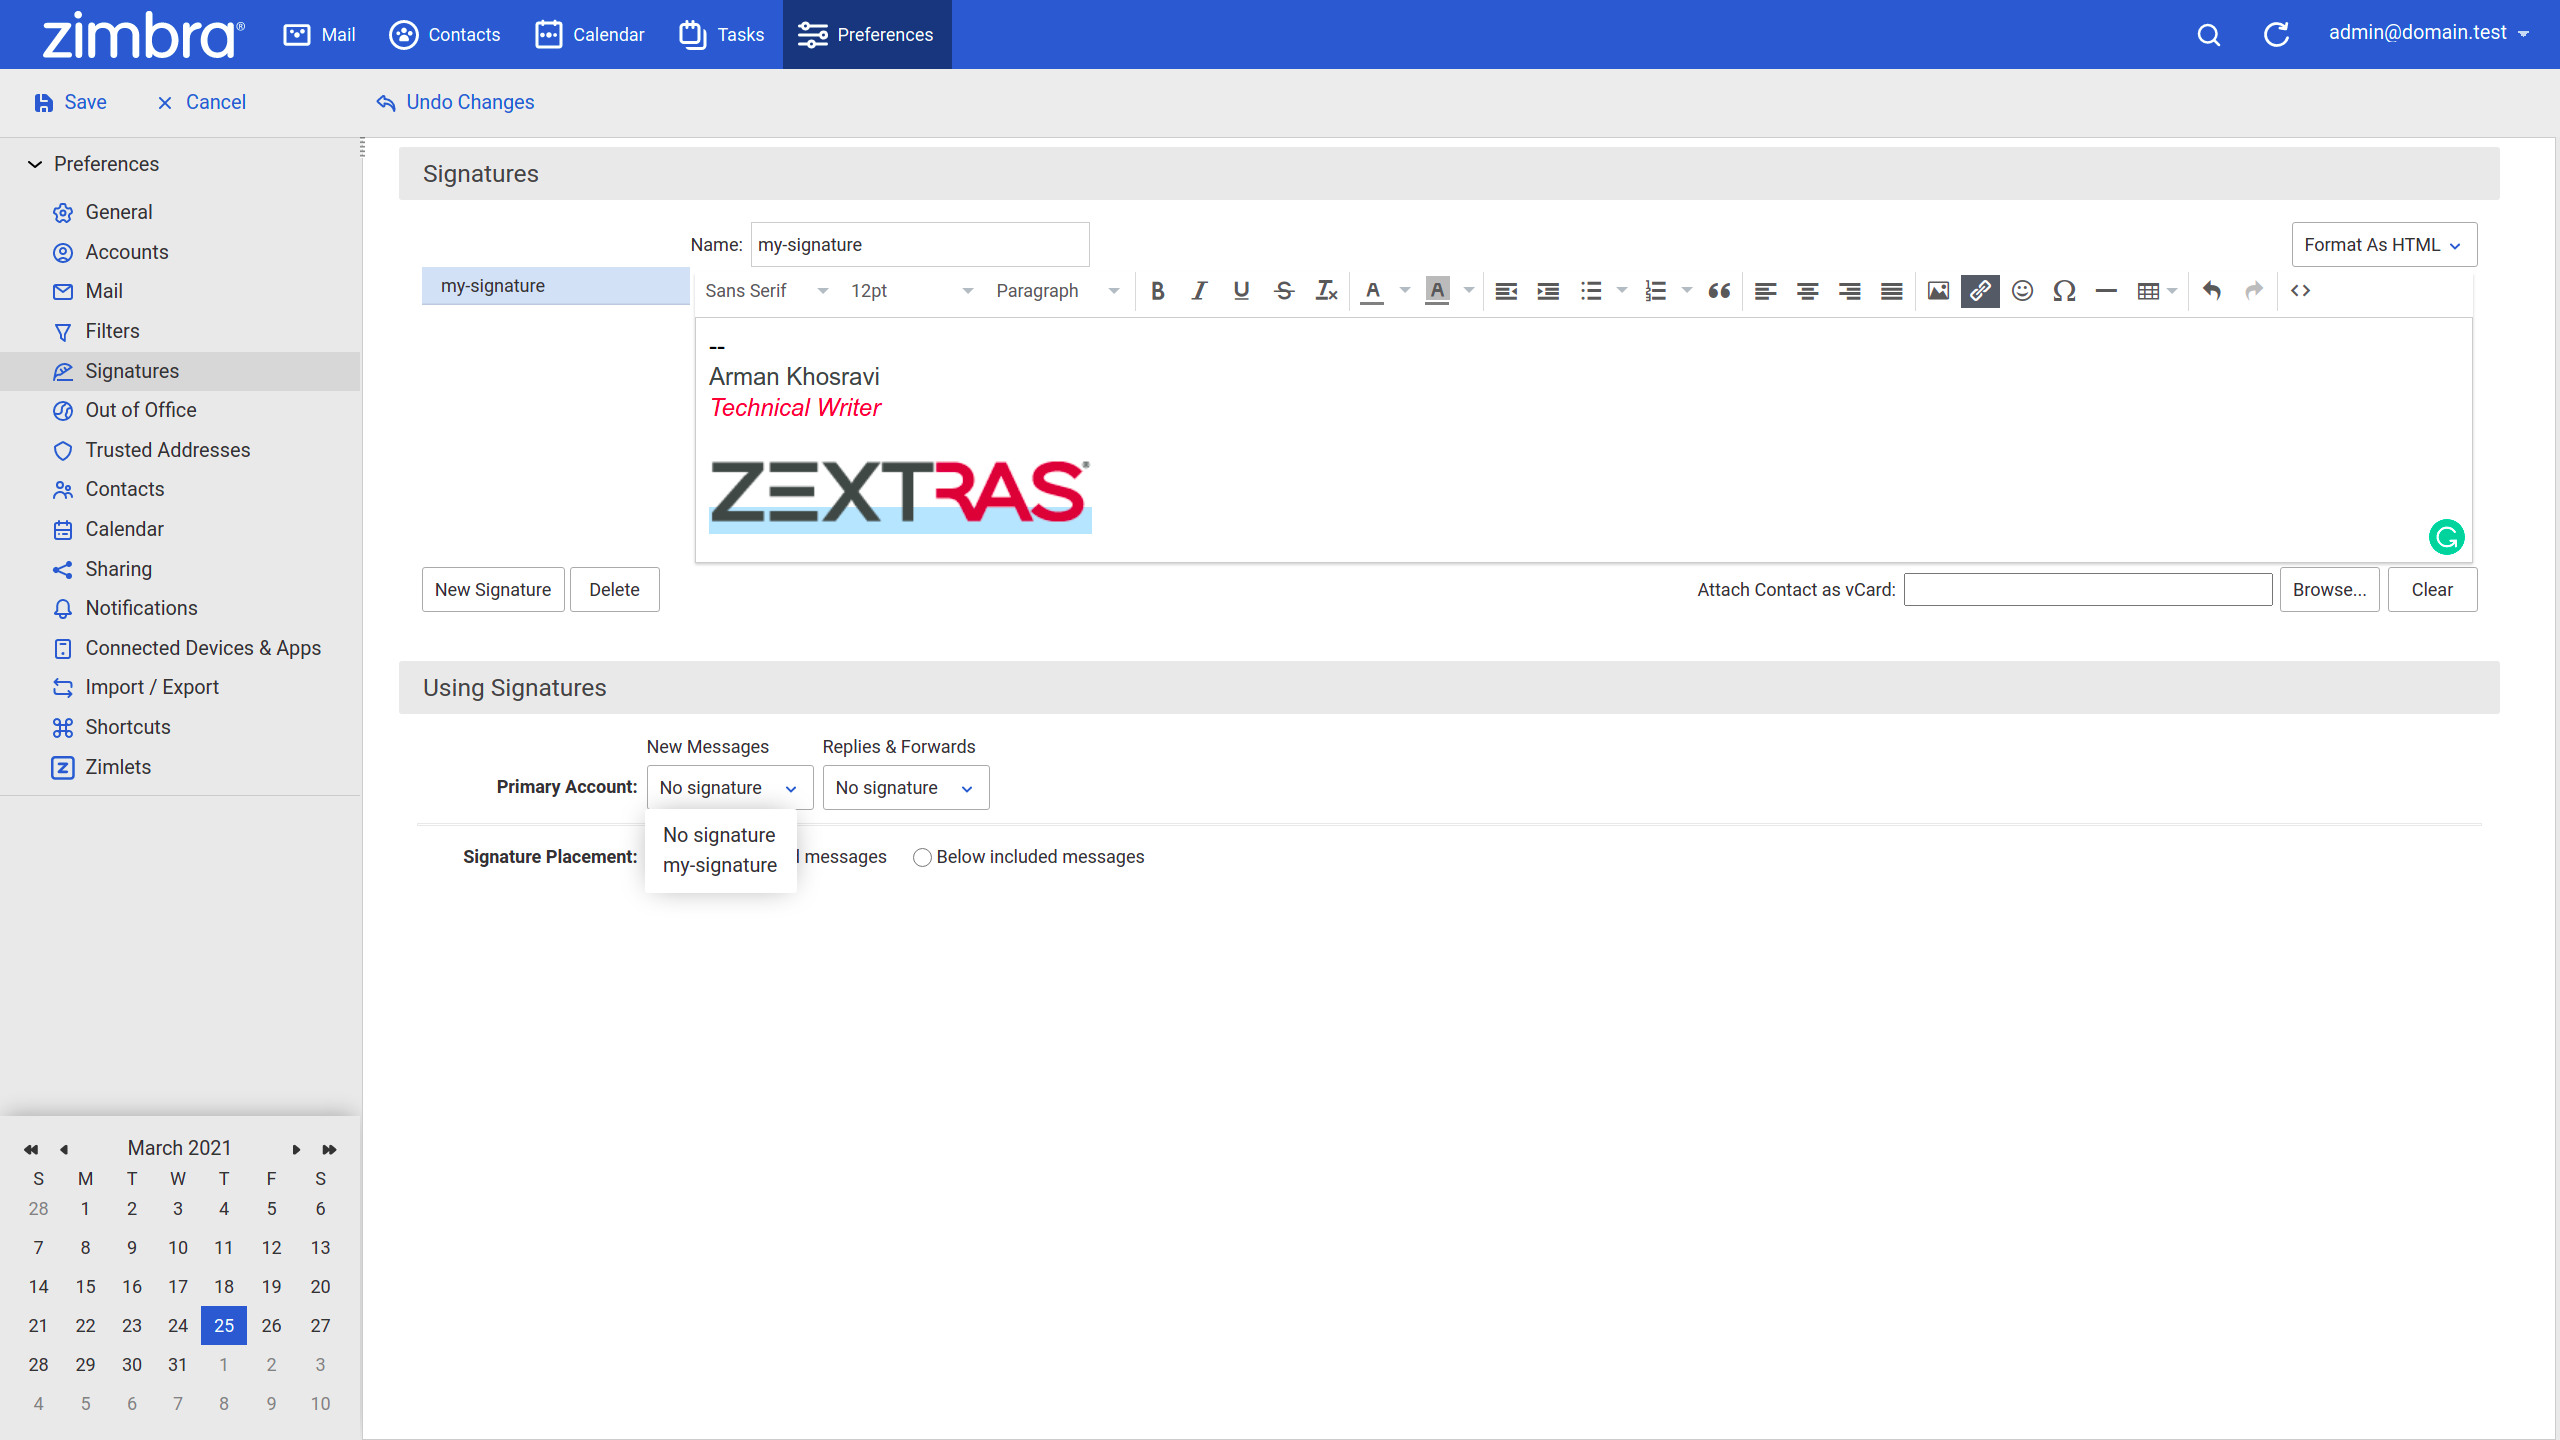
- Select the name of the signature from the Replies & Forwards drop-down menu to include this signature in replies and forwards.

- In the Signature Placement section, select the Above included messages to add your signature at the end of your reply and before the included messages, or select the Below included messages to add your signature at the end of the message.
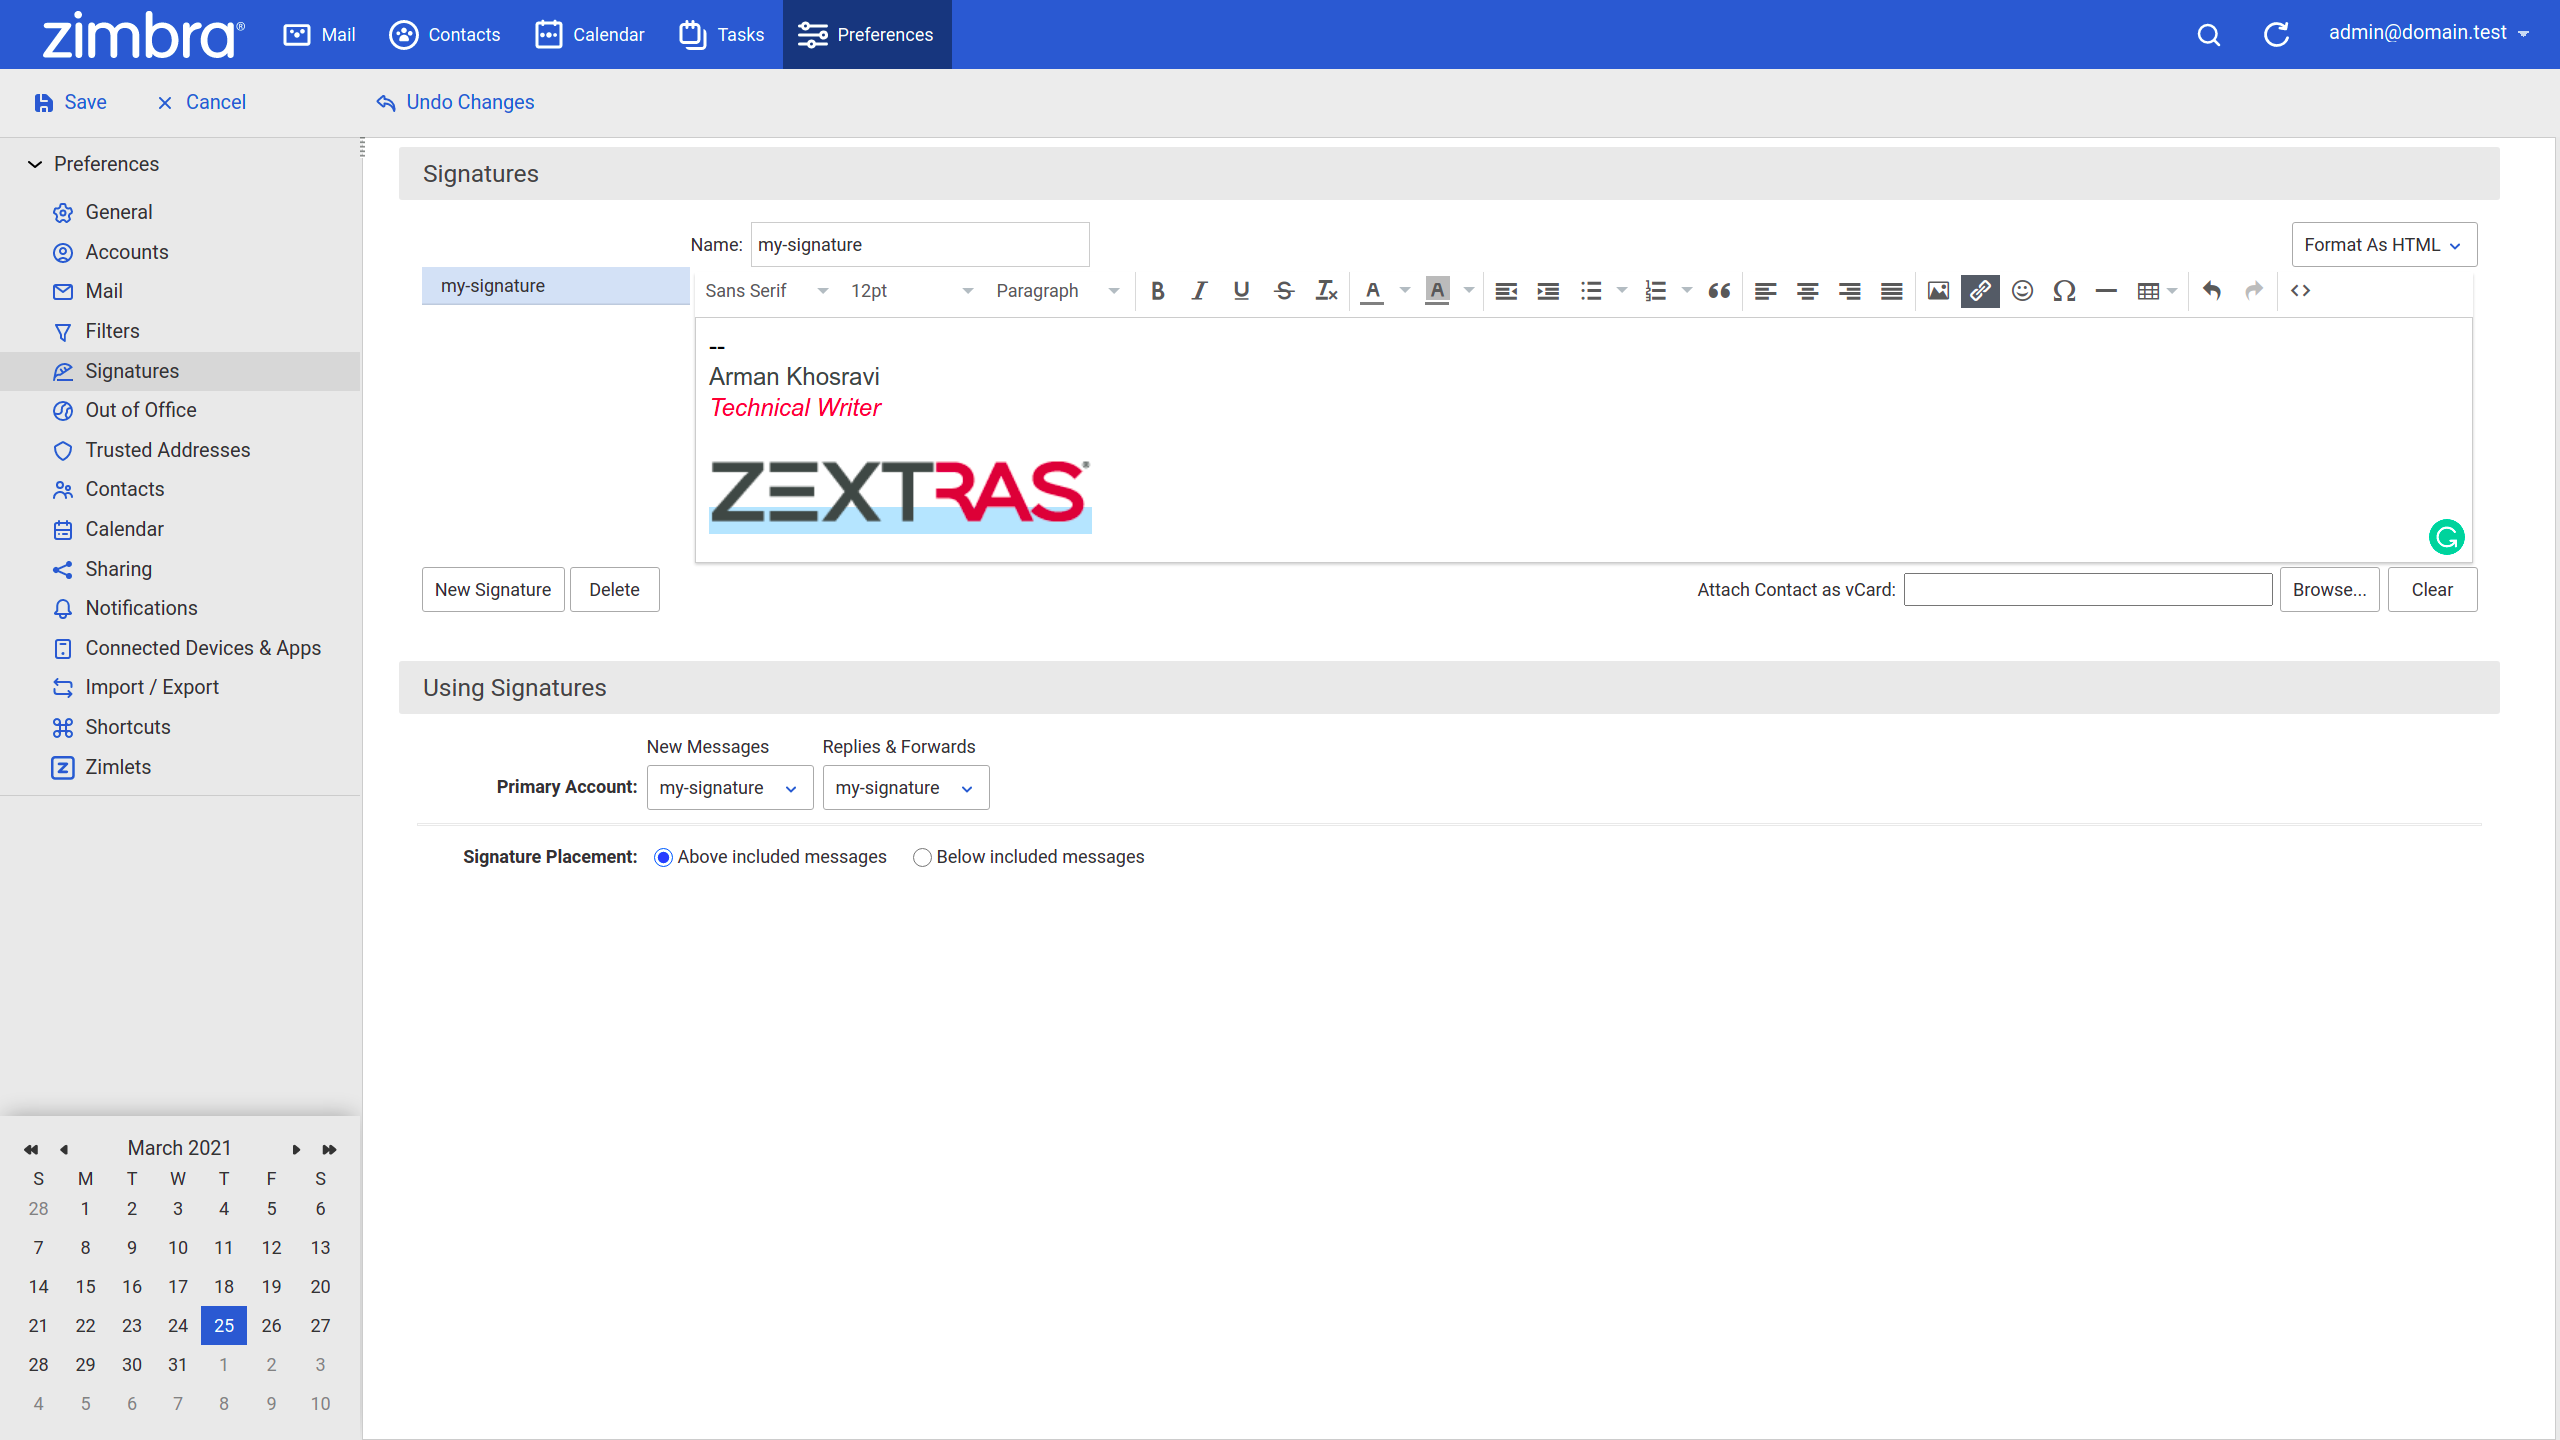
- Click Save.