For additional guidance, check out our community articles detailing the process of migrating from your current platform to Carbonio CE.
For enterprise-level requirements and advanced features, consider checking out Zextras Carbonio – the all-in-one private digital workplace designed for digital sovereignty trusted by the public sector, telcos, and regulated industries.
Nowadays the use of an SSL (or even better TLS) system to protect your connections has become almost a must. We have seen in this article what SSL certificates are and how they work and that there are commercial and non-commercial certificates.
In this article we’re going to see how to install and manage regularly purchased commercial certificates. Installation can be done both via Admin Console and via CLI Command Line.
Admin Console
If you choose to install and manage certificates via Admin Console, first of all you should go to “Configure” → “Certificates“under navigation pane
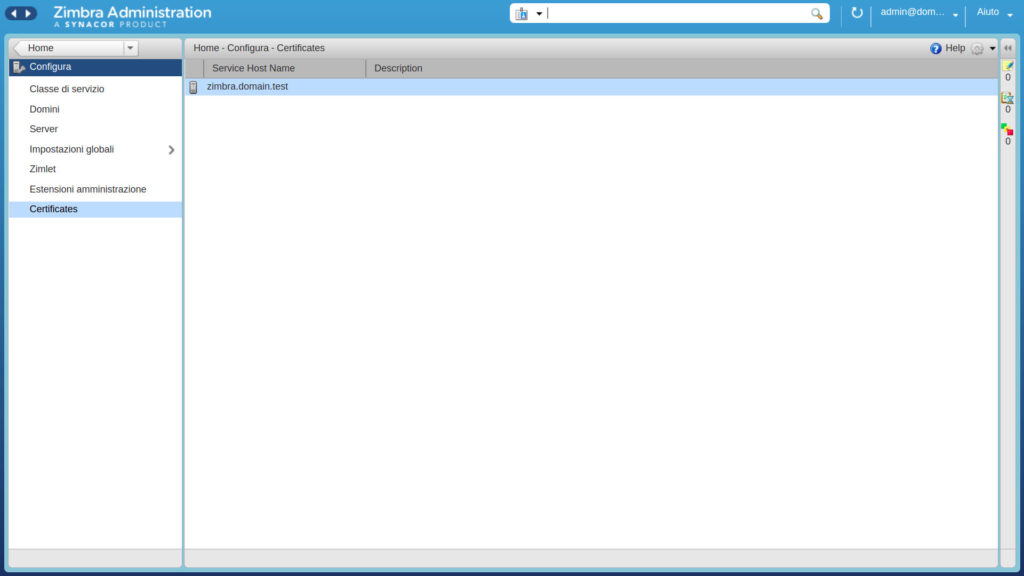
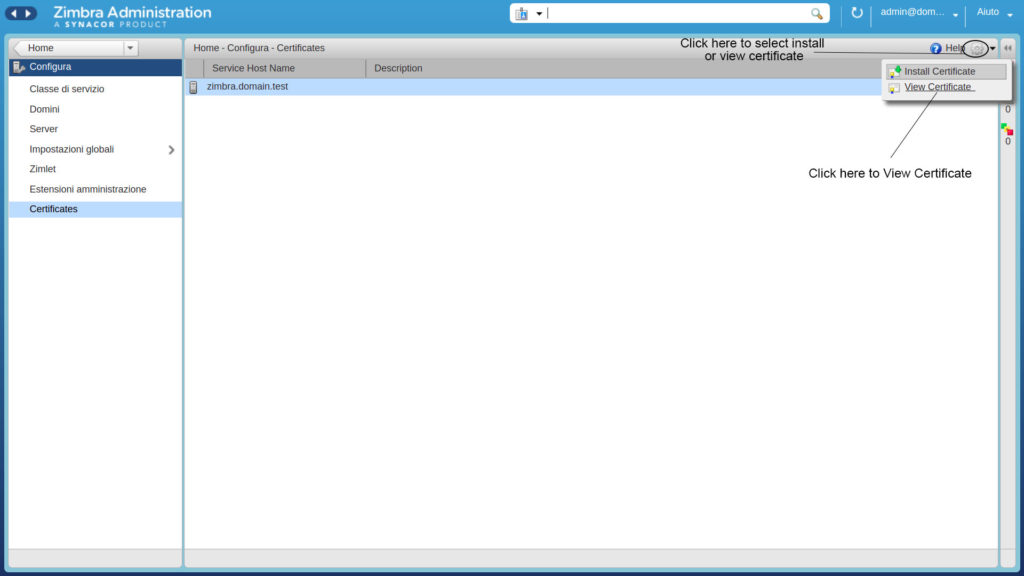
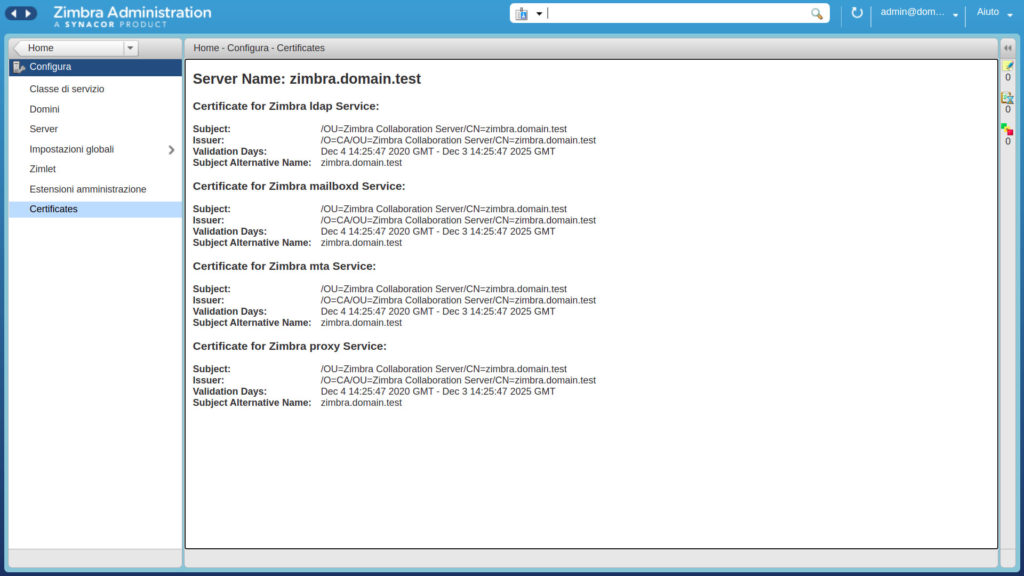
Here you can view the certificates you already installed by selecting a service host name and clicking “view certificate”. In a new tab which will open in the content pane you will be able to view the details of the selected certificate.
Installing a new Certificate
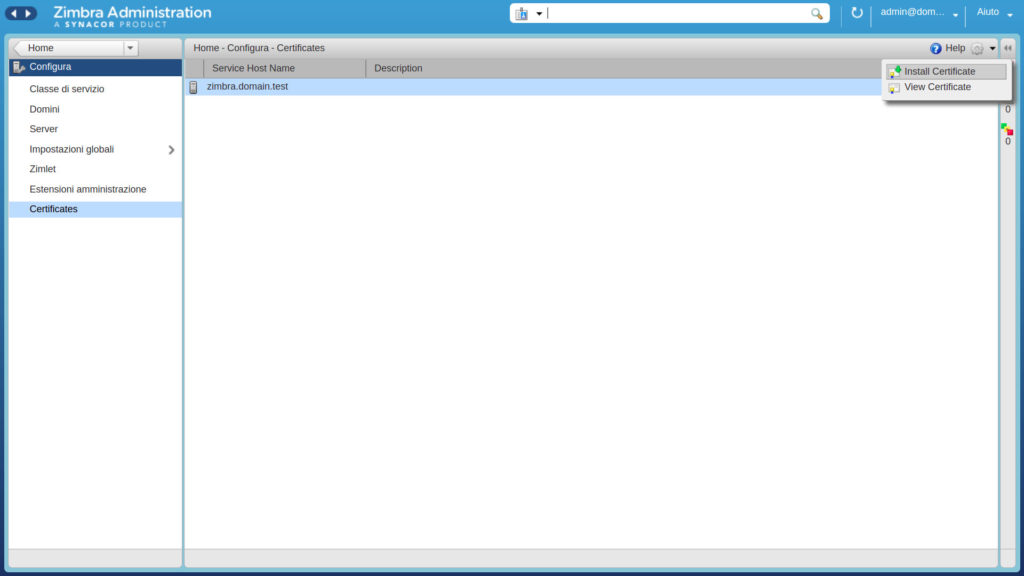
First of all we need to generate a valid Certificate Signing Request (CSR) for a commercial SSL. To do so, inside configure → certificates, click on the settings icon and the on “Install Certificate”
A Certificate Installation Wizard will open, helping you easily create and deploy your certificate. Let’s see the process step by step.
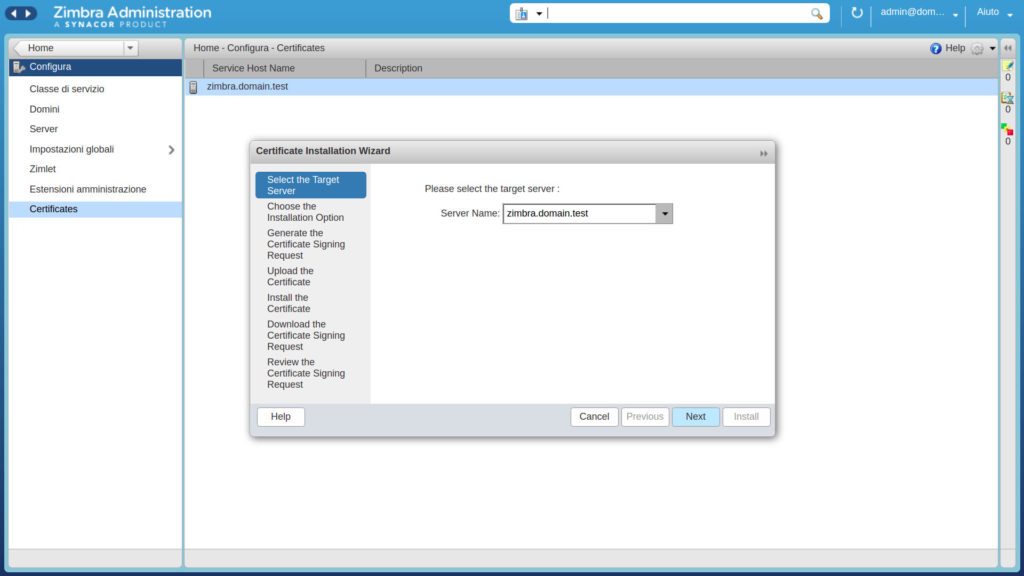
- Select the target server to generate the SSL files:
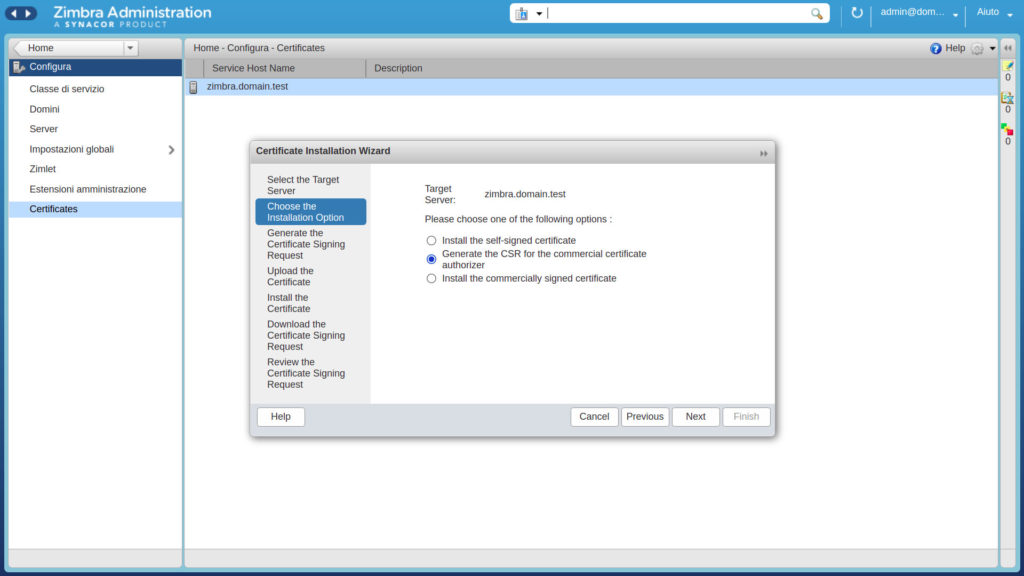
- The second step is to select the option “Generate the CSR for the commercial certificate authorize”
- Now you will have to enter some settings as shown in the screen below:
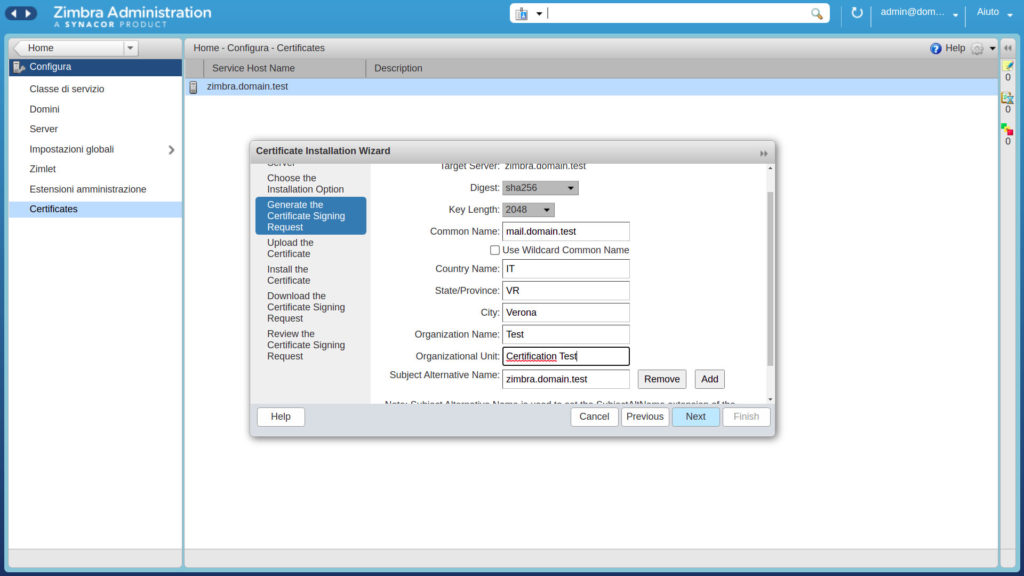
- Select digest SHA256 or above
- Select Key Length 2048 or above
- Common Name (CN) needs to be the FQDN that you want to use.
- If you want to use a Wildcard SSL certificate for your Zimbra, and for the rest of you other FQDN in your Company, then select this option.
- If you are going to use a Multi-SAN SSL certificate, then in the Subject Alternative Name (SAN), you can select another name
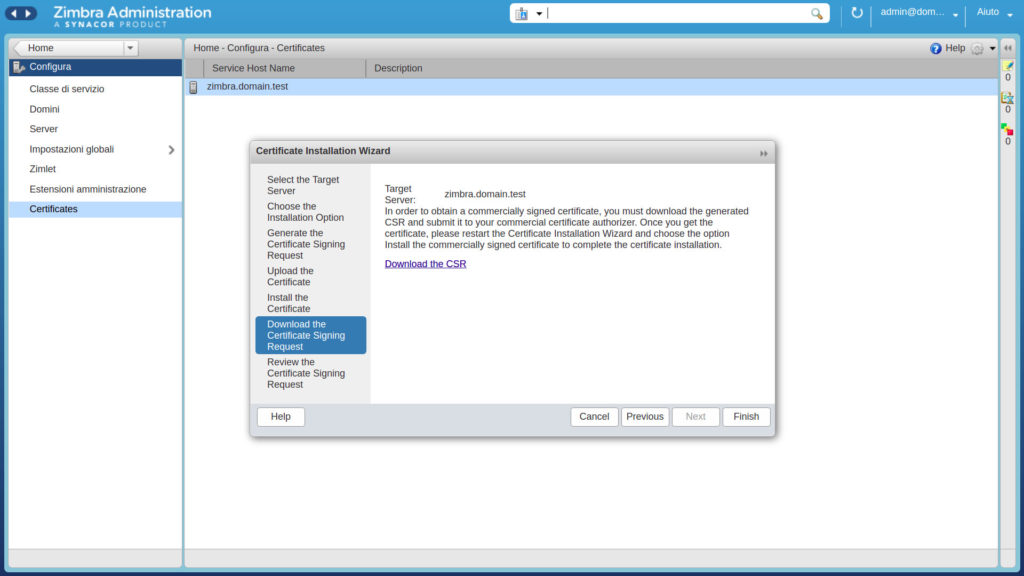
At the end, clicking on “next” you can download the CSR file, which is ready to be sent to your SSL Certificate Provider.
CLI
If you are going to use CLI to install and manage certificates, here is how it works.
The command to be used is 1zmcertmgr [options]
and can be used as user zimbra from Zimbra version 8.7 and above. For previous versions you must run all the commands as root user.
Before we start
Before we start, here are a few steps to be followed if you are going to generate a commercial certificate.:
- The private key must exist in the /opt/zimbra/ssl/zimbra/commercial directory, and has to be called “commercial.key”. You also have to set the file permission to 640 for Zimbra version 8.7 and above, or 740 for older versions.
- The server certificate and the chain certificate files must exist in a temp directory.
- The chain certificate files must be concatenated into one file called “commercial_ca.crt”
Installing Commercial Certificate
First of all we need the root and intermediate keys from the Certificate Authority. Then, we start by generating a Certificate Signing Request (CSR):
/opt/zimbra/bin/zmcertmgr createcsr comm -new "/C=IT/ST=VR/L=yourtown/O=YourCompany/OU=SampleDepartment/CN=mail.sampledomain.com"Where:
- C is 2-digit country code
- ST indicates State/Province
- L is City
- O is Organization Name
- OU is Department
- CN is the Common Name
You can optionally include more than one name by simply adding -subjectAltNames, followed by the name(s) you want to add, to the end of the command.
When you finished, submit the CSR to the SSL provider and get a commercial certificate in PEM format. Save it to a temporary file, for example /tmp/comm.crt
Now, download and save the root and the intermediate CA from your provider to temporary files, for example /tmp/ca_root.crt and /tmp/ca_intermediary.crt.
When finished, merge the two previously created files into a single temporary one:
cat /tmp/ca_intermediary.crt /tmp/ca_root.crt > /tmp/ca_comb.crtNow you can deploy your commercial certificate:
/opt/zimbra/bin/zmcertmgr deploycrt comm /tmp/comm.crt /tmp/ca_comb.crtAs a last step, verify the certificate was deployed with the command:
/opt/zimbra/bin/zmcertmgr viewdeployedcrtRestart Zimbra services and you’re ready to go:
zmcontrol restart
Comments
[…] your data and mail traffic is something that is extremely important. We have seen, in the ” Zimbra SSL/TLS Commercial Certificate ” article, how they work and what the security protocols and certificates are. In this […]