Carbonio CE is an open-source fully featured private collaboration platform. It provides you with an email service along with contacts and calendars. It also has a file management system to edit and share them with your collaborators at the same time. You can access all these features at the same webmail interface. That’s why we are writing this article to give you a tour of the Carbonio Community Edition (Carbonio CE) webmail interface.
I assume you have installed the Carbonio CE in your virtual machine or physical server. If you did not do it yet, please install the Carbonio CE following the linked article.
Now, we have installed Carbonio CE (Carbonio Release 22.12.0) on a server. To access the web interface of Carbonio CE, you can use both the IP address or DNS name (If you have published one). In our case, we are using a DNS name (https://mail.example.com/static/login/) to access our web interface.
First Look At Webmail Interface
During the installation, a default user (zextras@example.com) will be created. You can use that user or can create another user to login into your webmail.
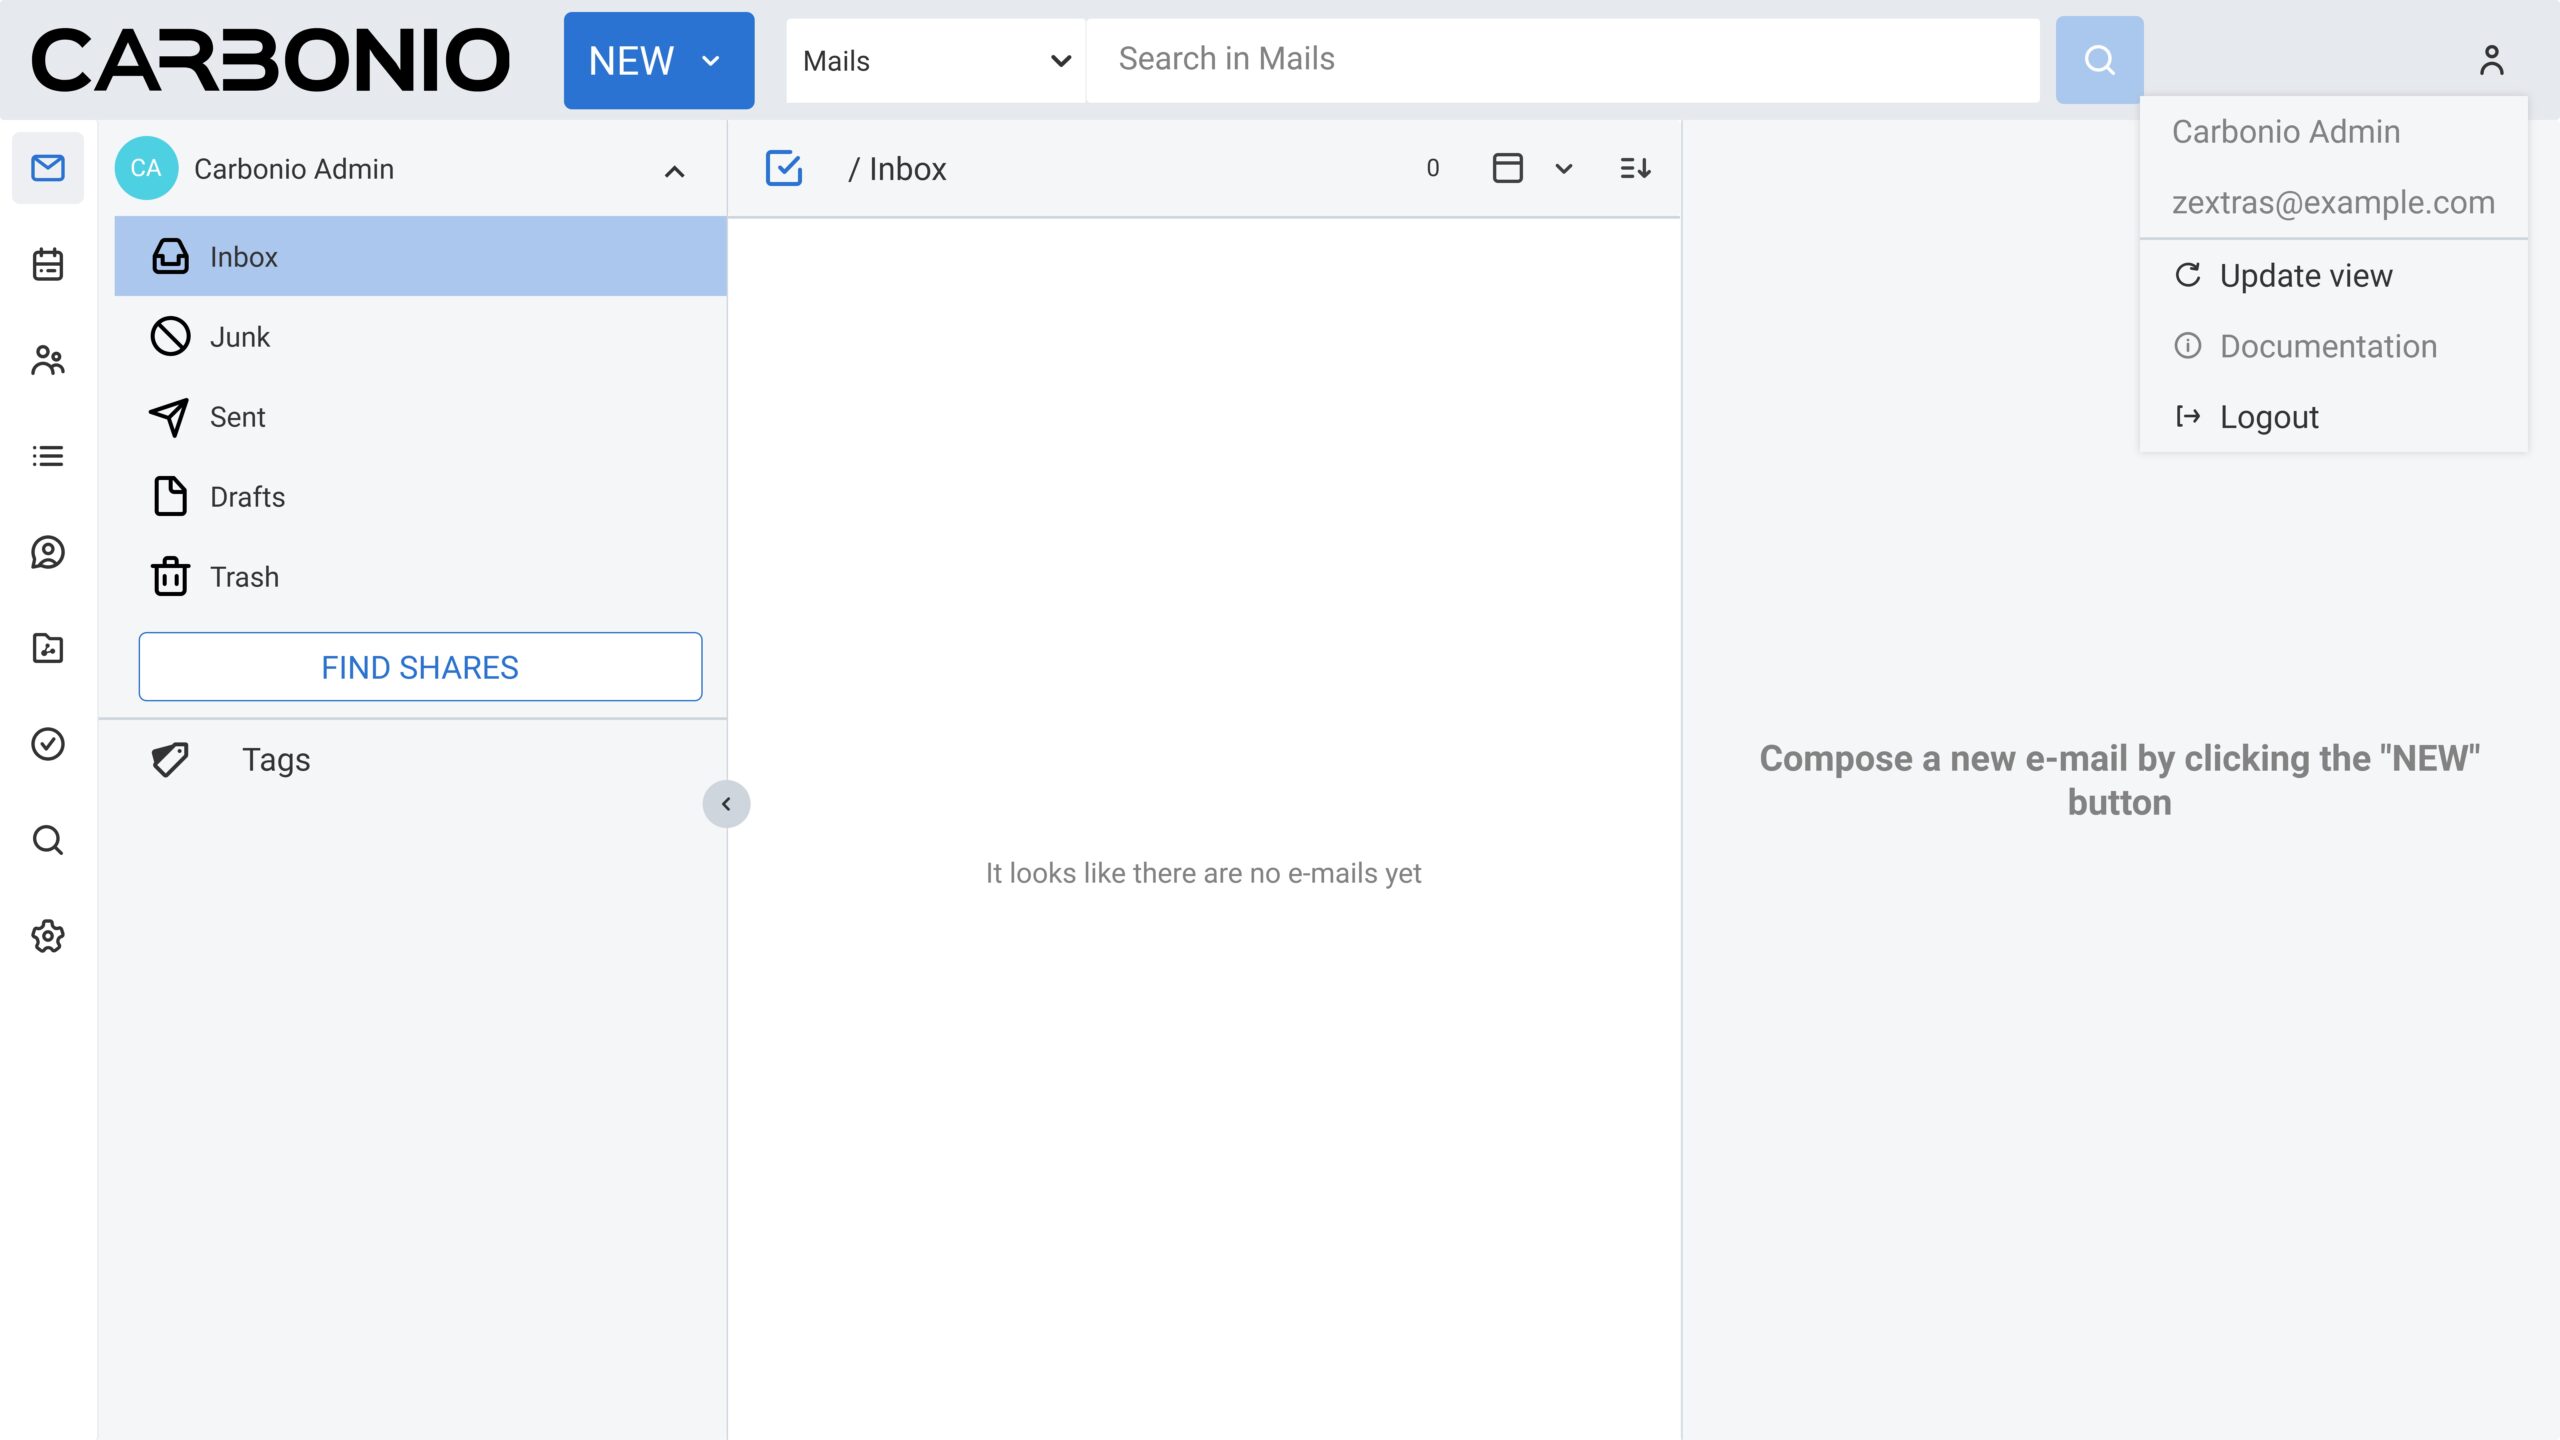
Let’s take a look at what we have got:
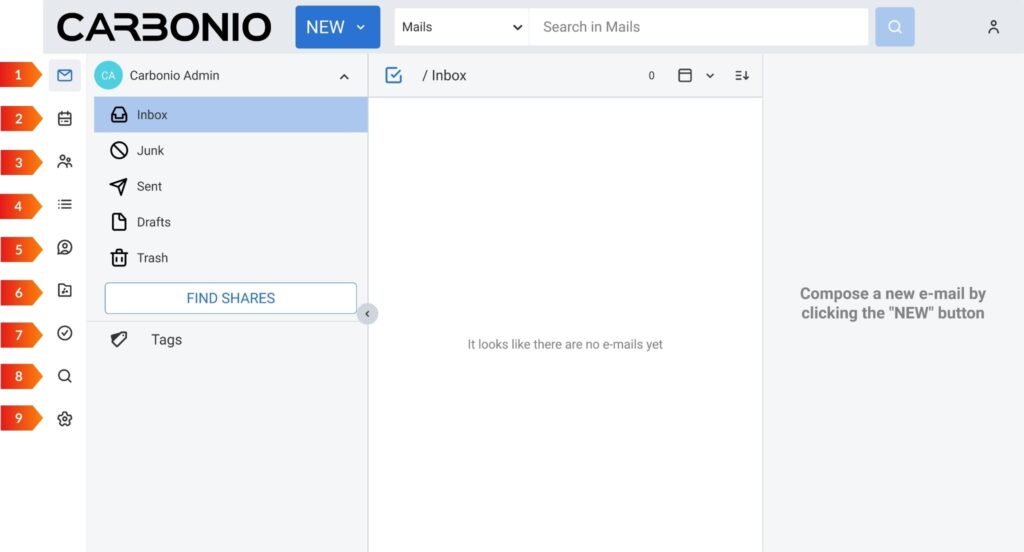
The left-most panel of the interface displays all the main TABs. So what are they:
MailsCalendarsContactsFilesSearchSettings
In the later part of this article, we will describe all TABs and their features one by one.
Mails
This is the default landing page of the webmail interface. On this page, you will get the following features:
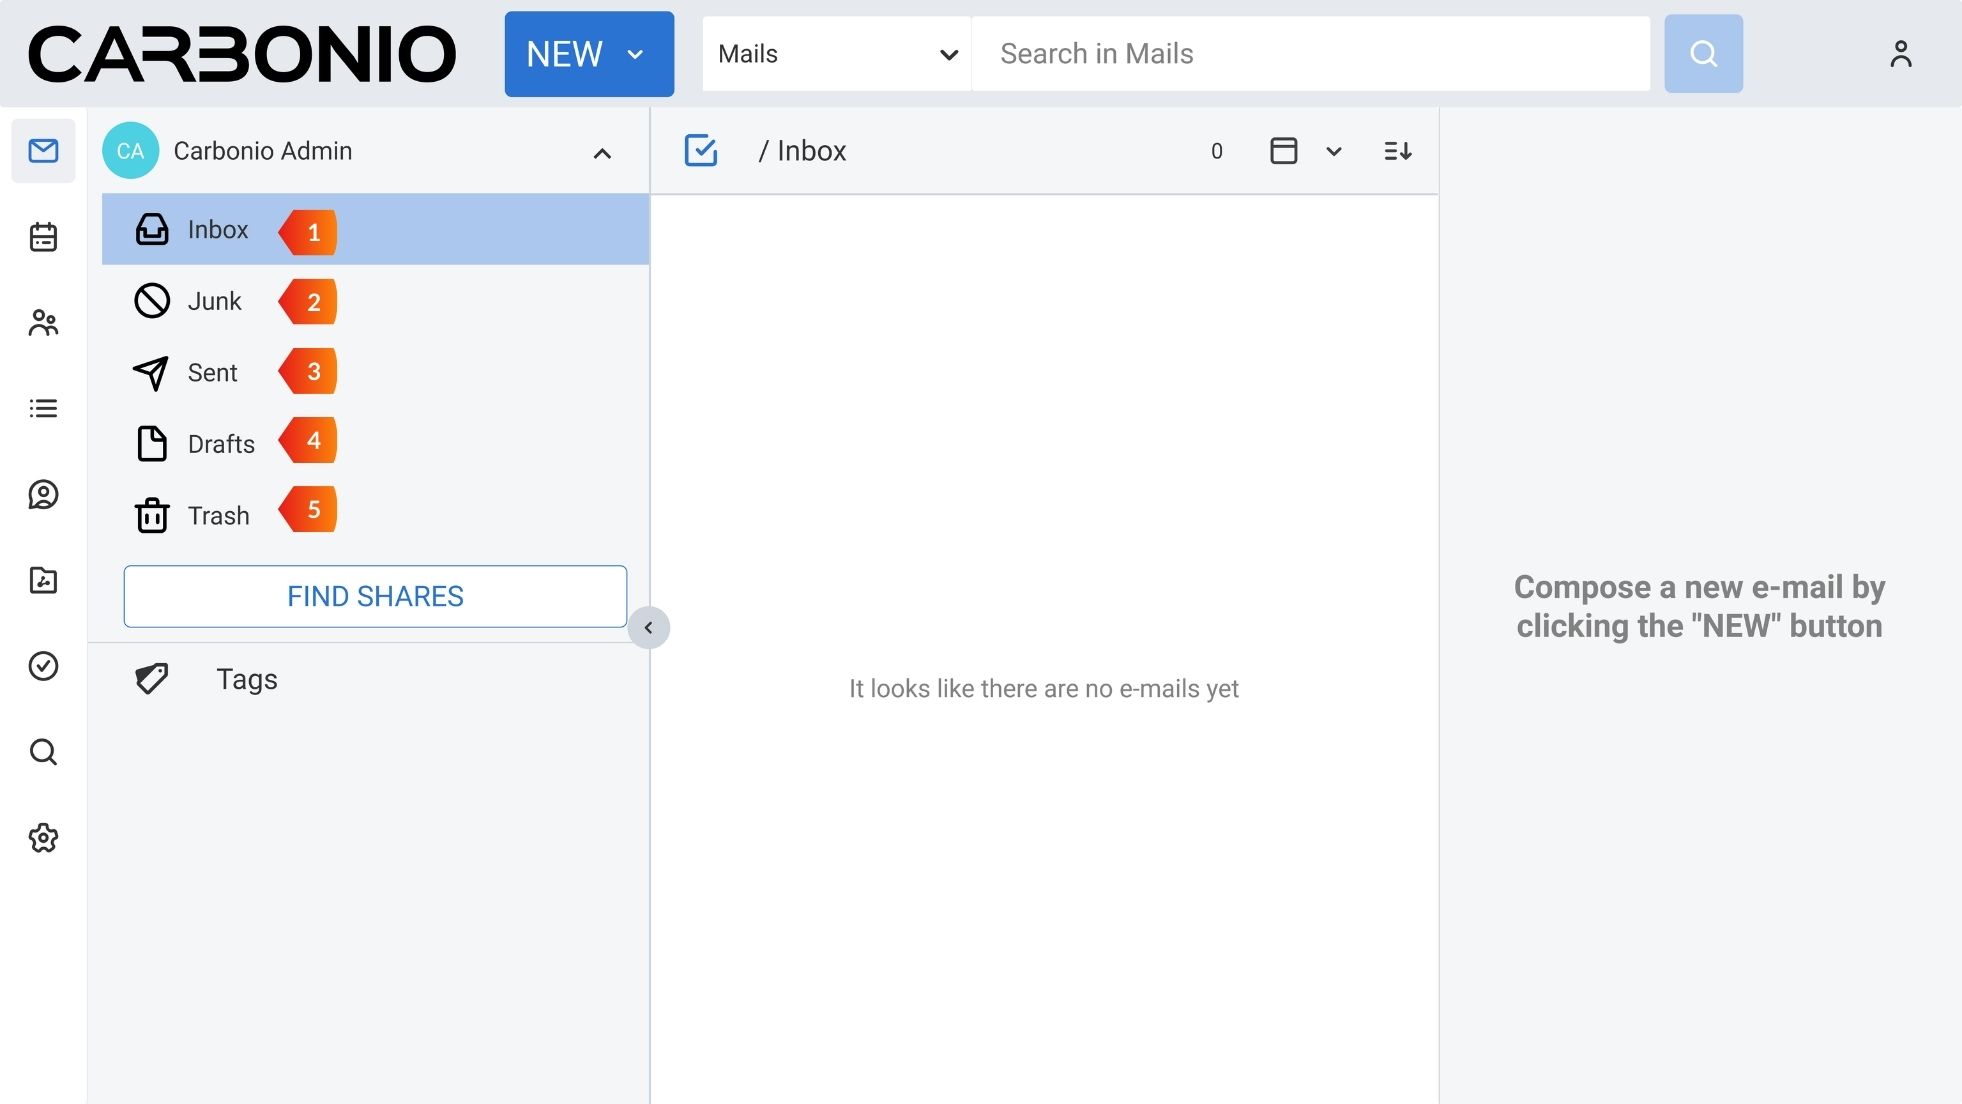
- Inbox – By default all of your incoming emails will be stored here.
- Junk – All Spam, Phishing, and Unwanted emails will be delivered to
Junkby your email server. - Sent – All emails sent from your account will be saved here.
- Drafts – Whenever you will compose an email, it will be auto-saved to the
Draftsfor your later use. - Trash – If you delete any item from any of the above-mentioned folders then it will be moved to the Trash. If you delete that item from
Trashthen it will be deleted permanently.
Special Note: You can create custom folders under all of these default folders and can make some advanced use of them by creating filters from the settings.
On this page, you can compose new emails by clicking on NEW E-MAIL. Now, let’s see what happens when you click on the NEW E-MAIL.
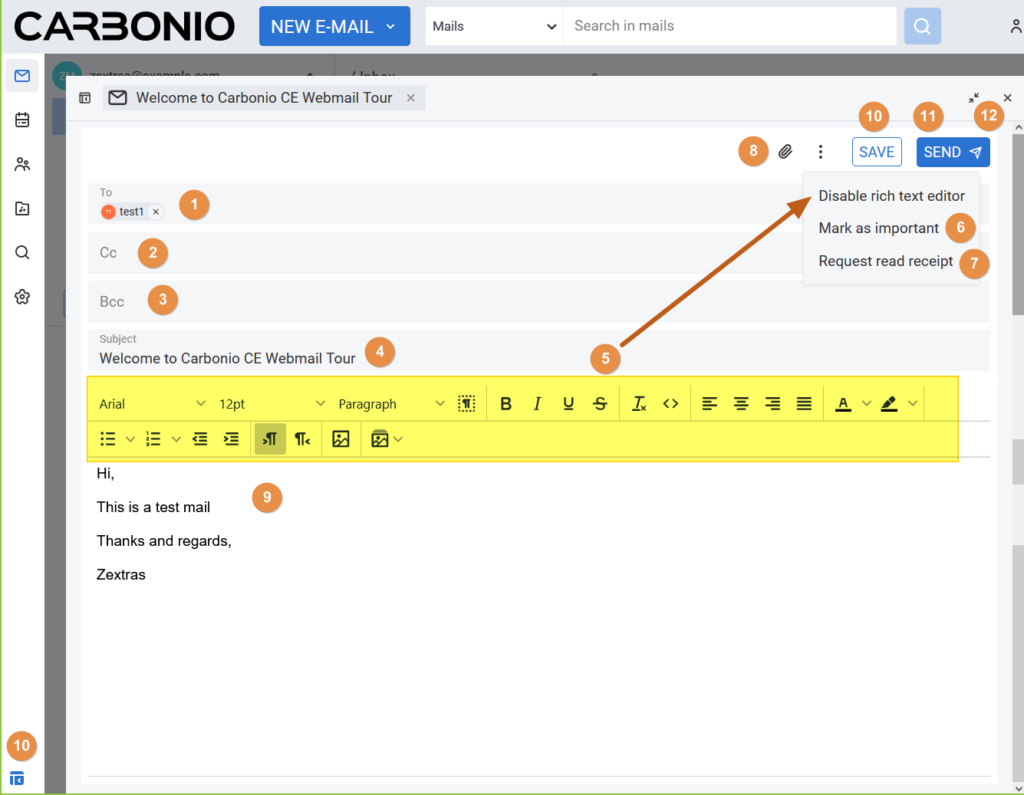
A new window opens within the page Mails to compose a new email. In this window, you will be able to compose a new email with the following options:
- To
- Cc
- Bcc
- Subject
- Rich Text Editor (T). By enabling/disabling this feature, you will be able to customize/modify your email body with following options: [You can enable/disable the Rich Text Editor by clicking the three dots on the top right corner of this new email compose panel]
- Font
- Font Size
- Types of Blocks
- Formatting
- Alignment
- Colour
- Bullets
- Indent
- And some other customization.
- Urgent Flag (Mark as important)
- Request read receipt (You can request a read receipt from the receiver of your email)
- Attachment. You can attach files/links from various sources as an attachment.
- Message Body (This is where you write down the message)
- SAVE. You can save the email you just compose in the
Drafts. - SEND. You can send the composed email immediately with this button. By default, after hitting the SEND button, you will get a 3 seconds delay window to undo the send operation.
- You can use the compose email window size toggle and the close button to handle this window.
Special Notes: As soon as you send an email, a copy of it will be stored in the SENT item. But you can modify this behavior from the Settings option. You can also enlarge/reduce the New E-Mail window as per your convenience.
Calendars
In this TAB, you will be able to create and check all of your appointments. You will also be able to check others’ calendars that are shared with you.
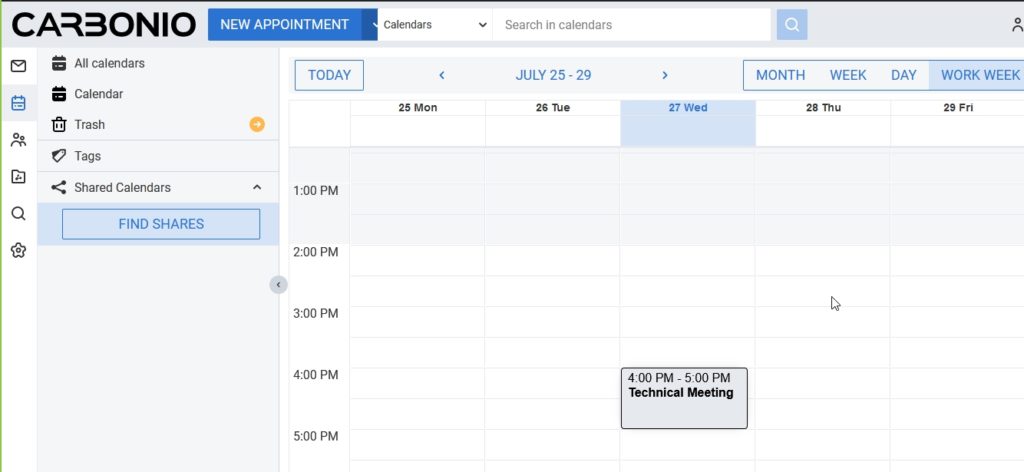
Now to create an event you have to click on NEW APPOINTMENT button on top of this page or you can double-click on any open space on the grid. By doing so, a new window will open to allow you to create a new appointment.
Let’s try to create an appointment;
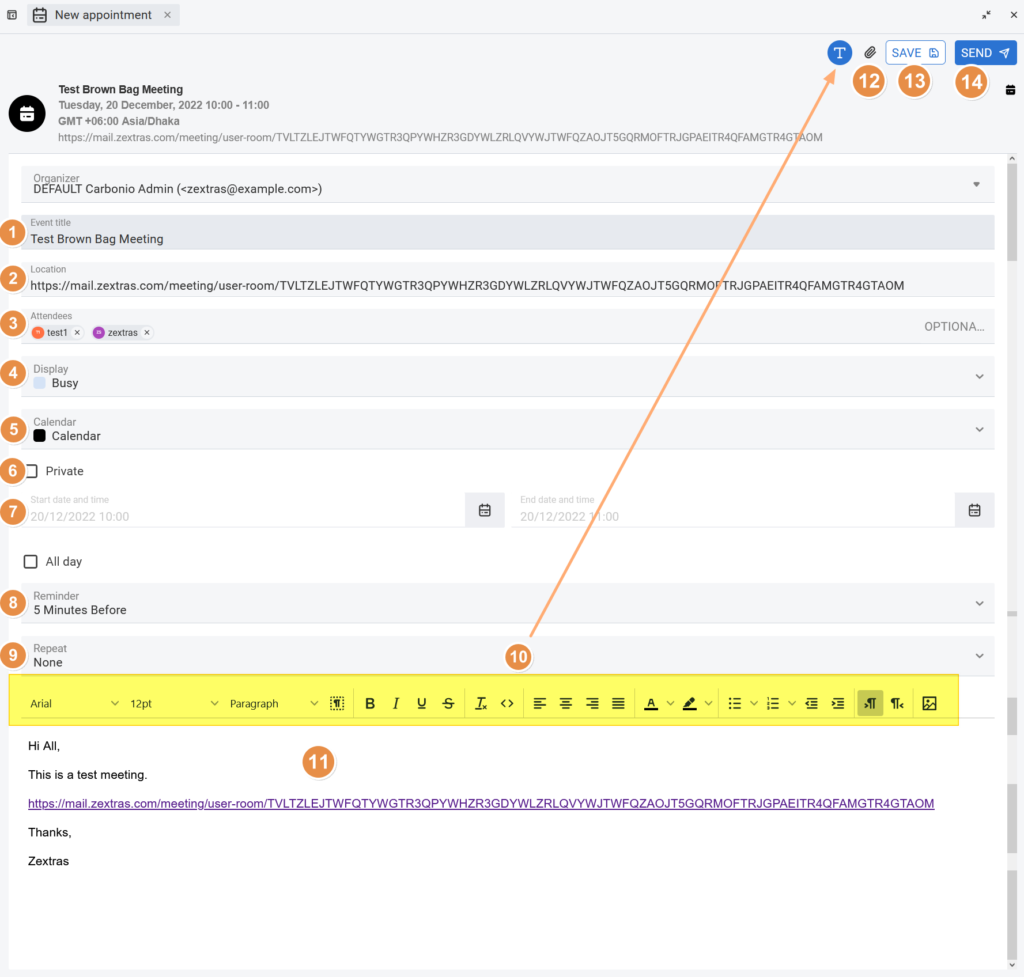
In this NEW APPOINTMENT window, you will get the following options to create your desired appointment.
- Event Title – More like a subject
- Location – You can save your meeting joining link here
- Attendees – Recipients who you want to be part of this appointment
- Display – You can set the display status as Free, Busy, Tentative, etc.
- Calendar – Place of this appointment
- Private flag
- Start time & End time or All Day
- Reminder – When you want to get reminded about the appointment
- Repeat – If you want to repeat this appointment
- Rich text editor – You can enable/disable this editor panel by clicking the “T” icon on top right corner of this panel. With this Rich text editor, you can modify & format the message body.
- Message – For any additional message.
- Attachment – You can add any kind of attachment with this appointment.
- Save – You can save this appointment for future modification.
- Send – You can use Send button to send the appointment notification to the attendees of this appointment.
Special Notes: The Rich Text editor for the additional message can be enabled/disabled.
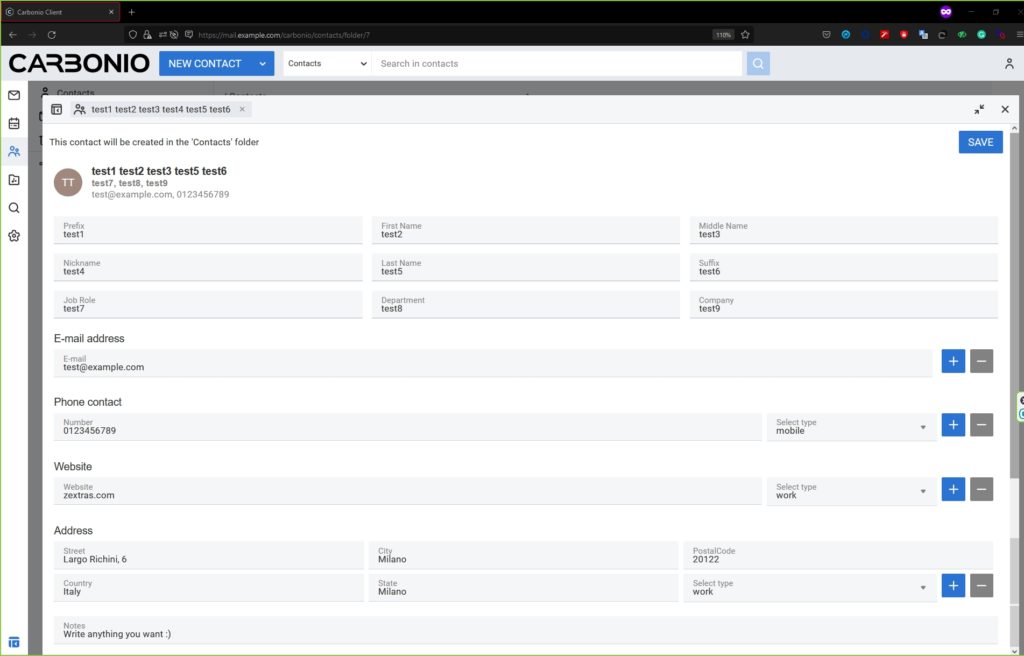
Contacts
Primarily you will get to see all of your emailed contacts here. But in this TAB, you can also create NEW CONTACT .
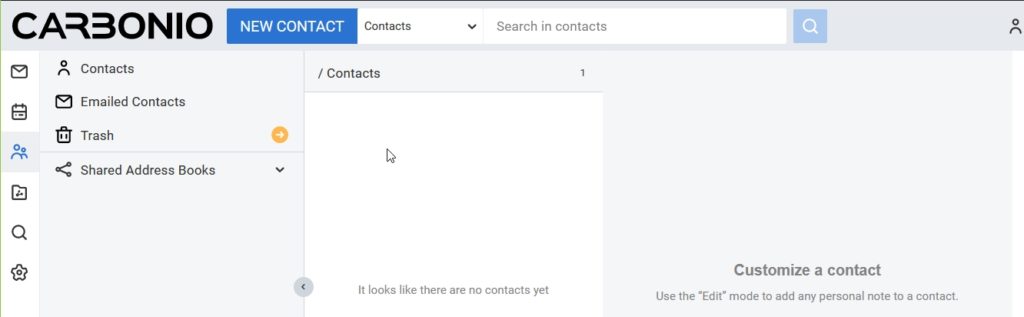
Now, if we hit the NEW CONTACT button, we will get a new window where we can compose our desired contact. Let’s see.
Files
You can upload your desired files to this TAB by clicking the UPLOAD button. You can also share any from this location to other recipients via email attachment or a shareable link.
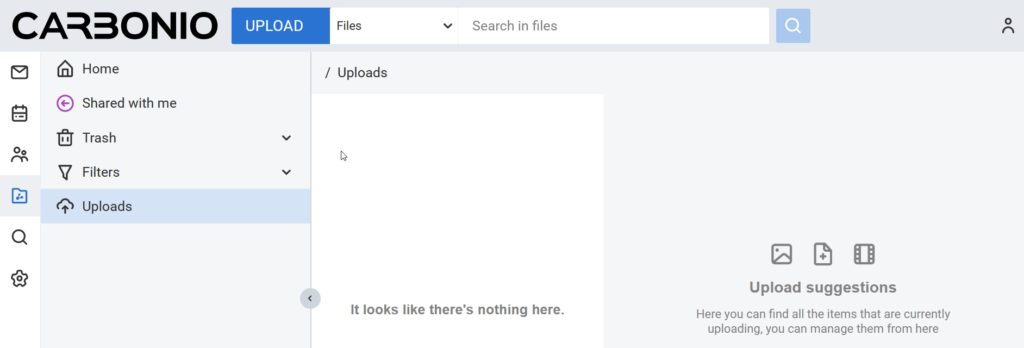
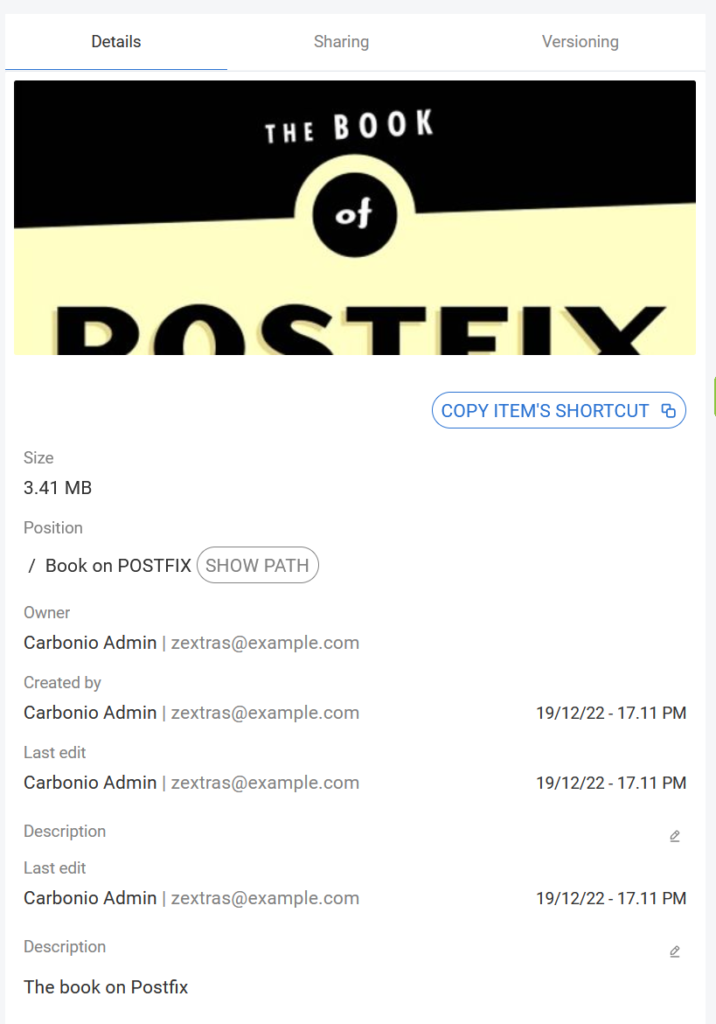
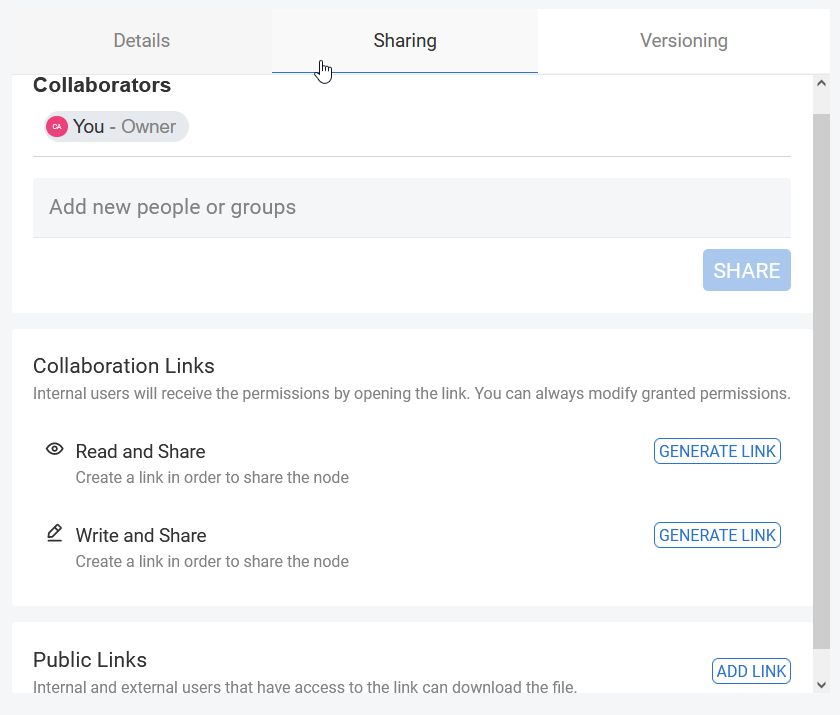
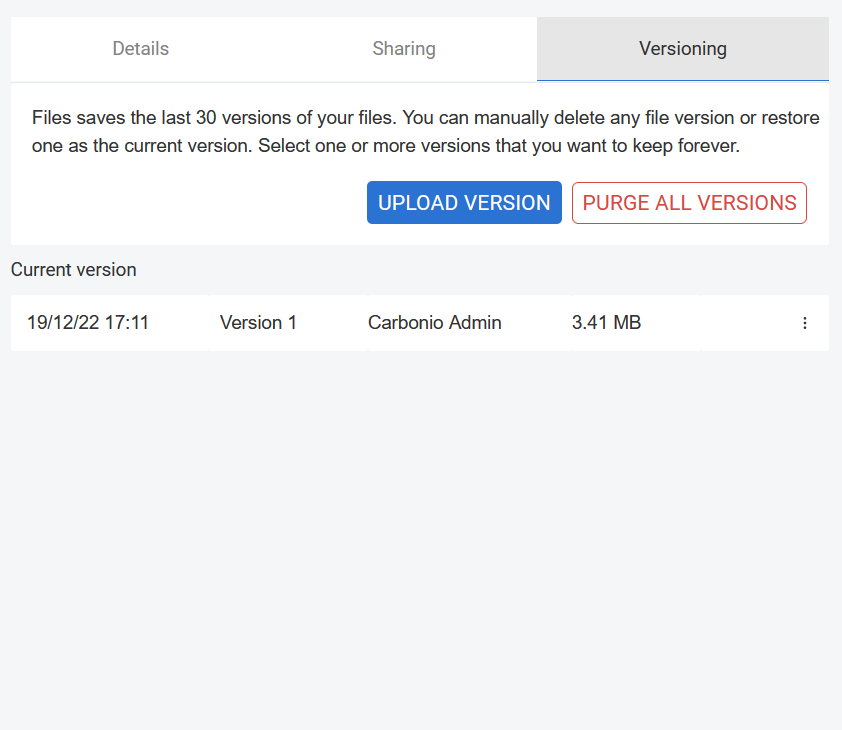
You can upload files using the UPLOAD button. If you upload any file, it will be displayed on your Home page. If you click any of the file, you will get the details information, sharing information and versioning information of that file.
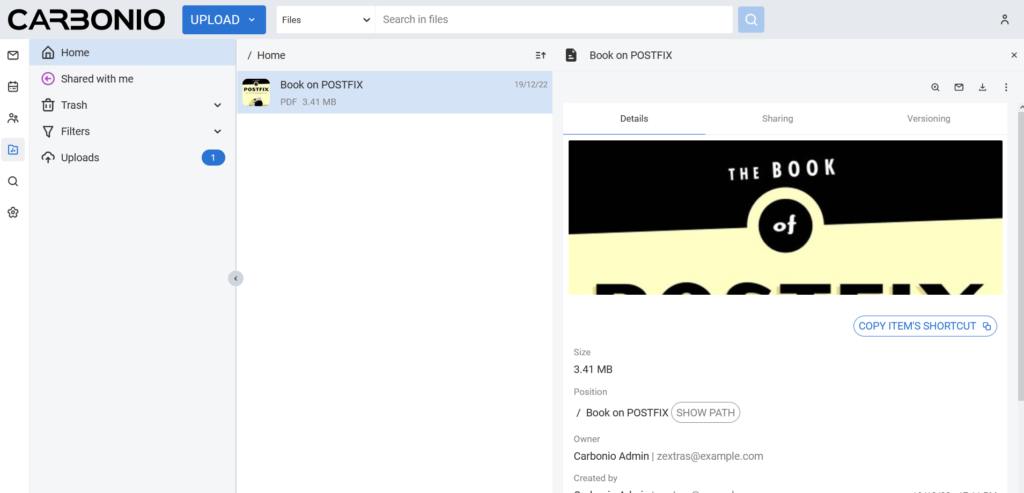
You can share the file by adding people/group. Or you can also generate links for both internal users and external users to share the file.
You can control the versioning of this file.
Search
Using this TAB, you can perform some advanced search operations.
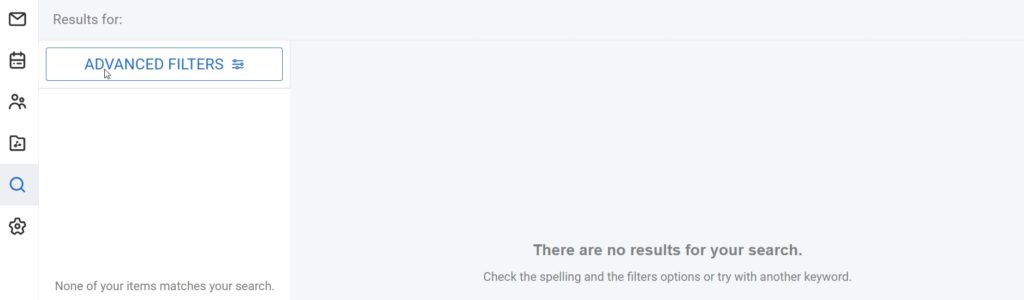
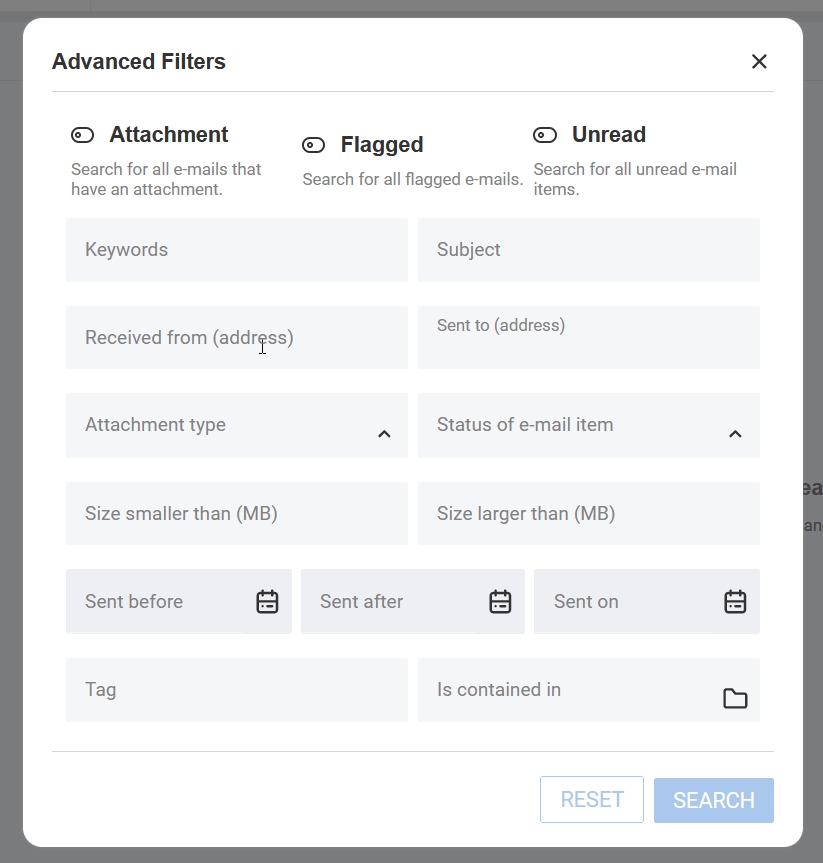
Let’s check what we can do with the ADVANCED FILTERS,
Settings
Finally, we have come to the last bit called Settings. It controls many of the functions of a user’s mailbox.
Let’s take a glimpse of it;
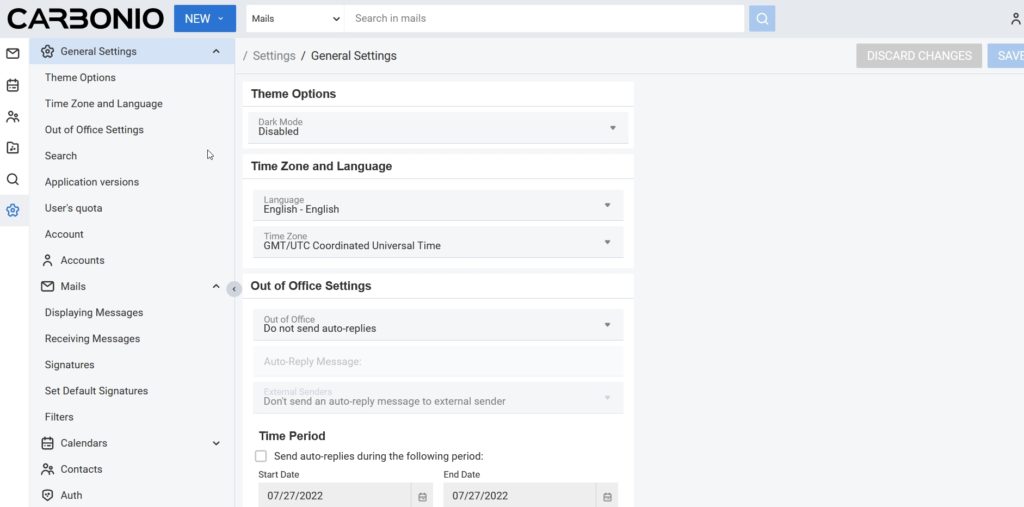
As you can see it has a whole bunch of settings and I think that can be a convenient discussion for another day.
Keep this in mind that it is still being developed. If you think of any feature that can add great value to its users, please let us know in the feedback so that we can check its feasibility.
Last but not the least, if you are interested to know more about Carbonio CE please read its official documentation for some detailed information.
So that’s it for today.
😊