When migrating from Microsoft Exchange to Carbonio CE, the challenge is to migrate employee-critical data such as e-mails, address books, and appointments from Outlook to the Carbonio CE server. This way, employees can access these items from the Carbonio CE web client or Carbonio Mail mobile app. This article will explain how users can import data from their Outlook to Carbonio CE without any administrator involvement.
This data transfer can be done using any PST migration tool. We will use the PST Migration Wizard, available for 64-bit and 32-bit versions of Windows.
We will perform the migration using a freshly created test mailbox test@example.tld and Outlook test data. The task is to ensure that all data from Outlook is correctly transferred to the Carbonio CE web client of the test@example.tld account.
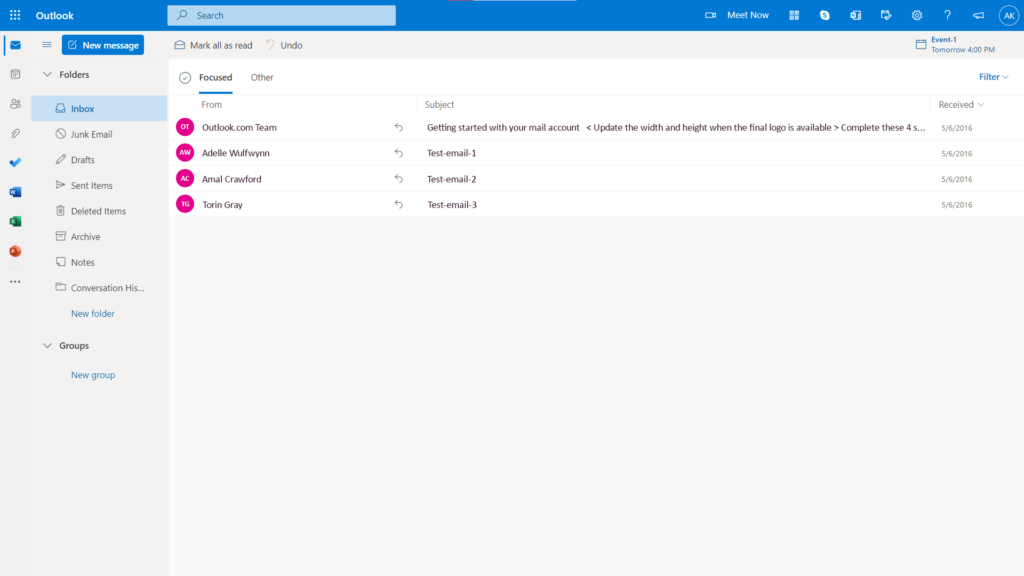
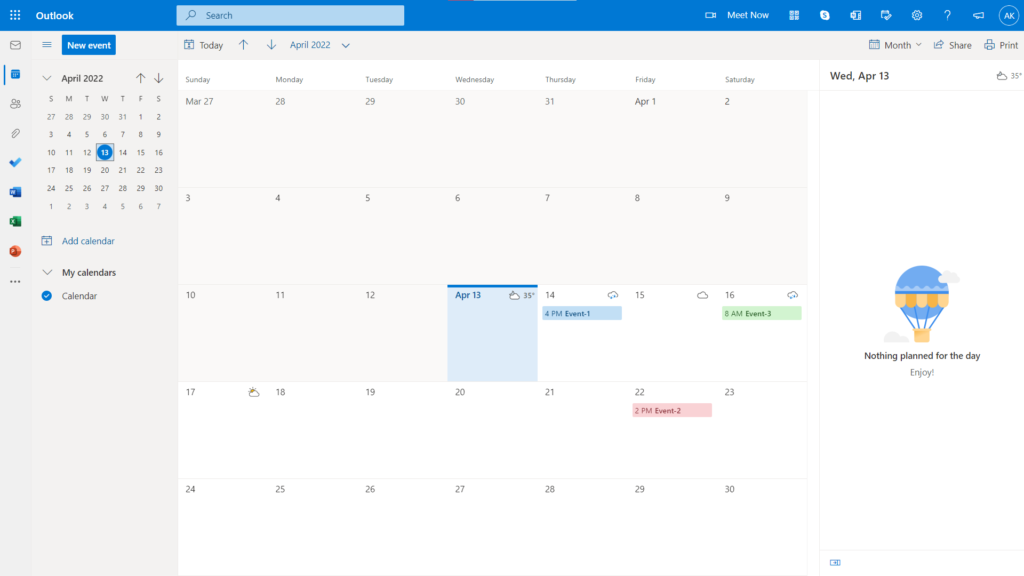
Export PST File from Outlook
To transfer data from Outlook to Carbonio CE, you need to export data from Outlook into a .PST file. This feature is only available in an activated version of Outlook.
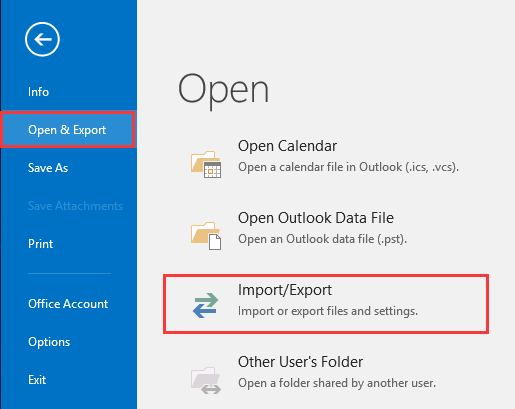
1. You can use it by clicking on the File button and selecting the Open & Export > Import/Export in the window that opens.

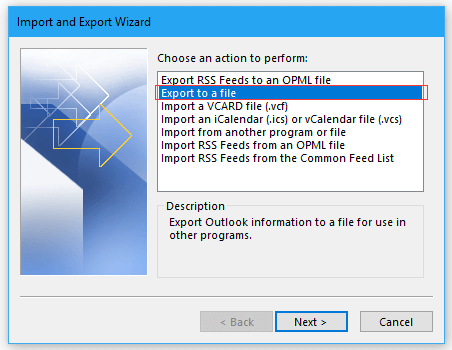
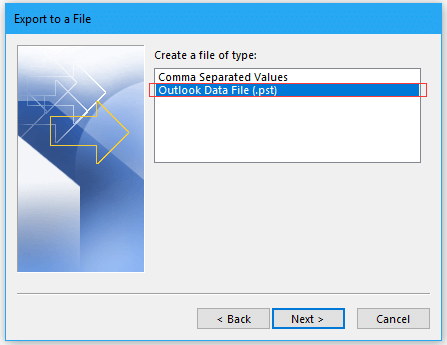
2. In the window that appears, select Export to a file and specify the format Outlook Data File (.pst).
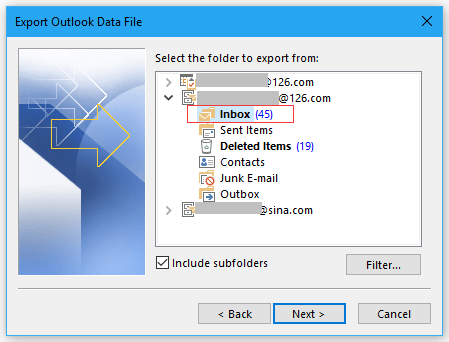
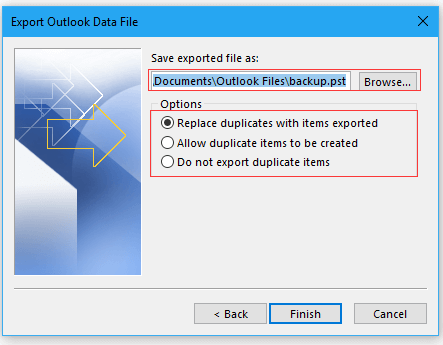
3. Specify the path to the location of the data file, select the items to be included in the exported file and click Finish.
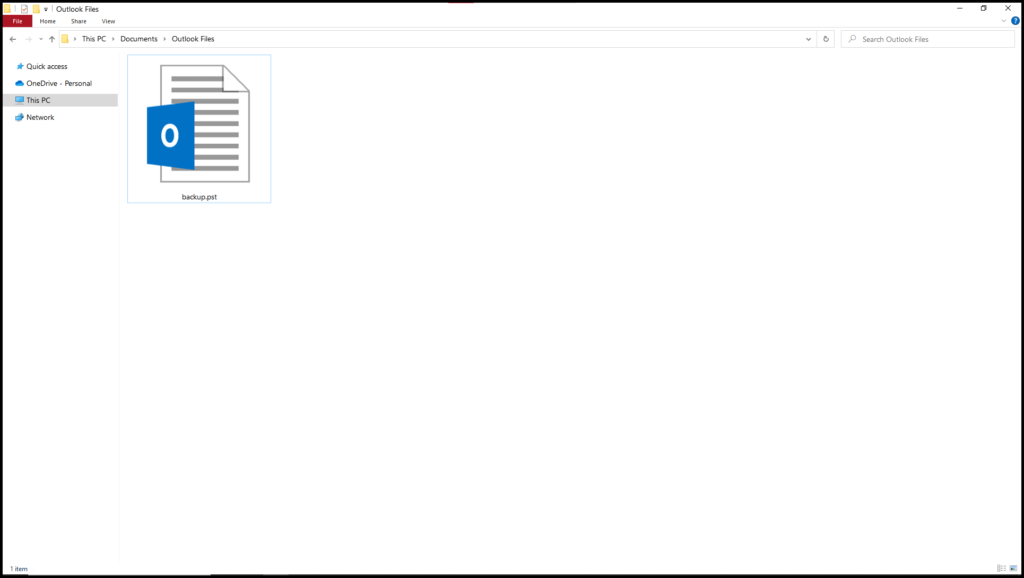
4. After this operation is completed, the PST file will contain all the necessary data, ready to be imported into Carbonio CE.
Import PST Files into Carbonio CE
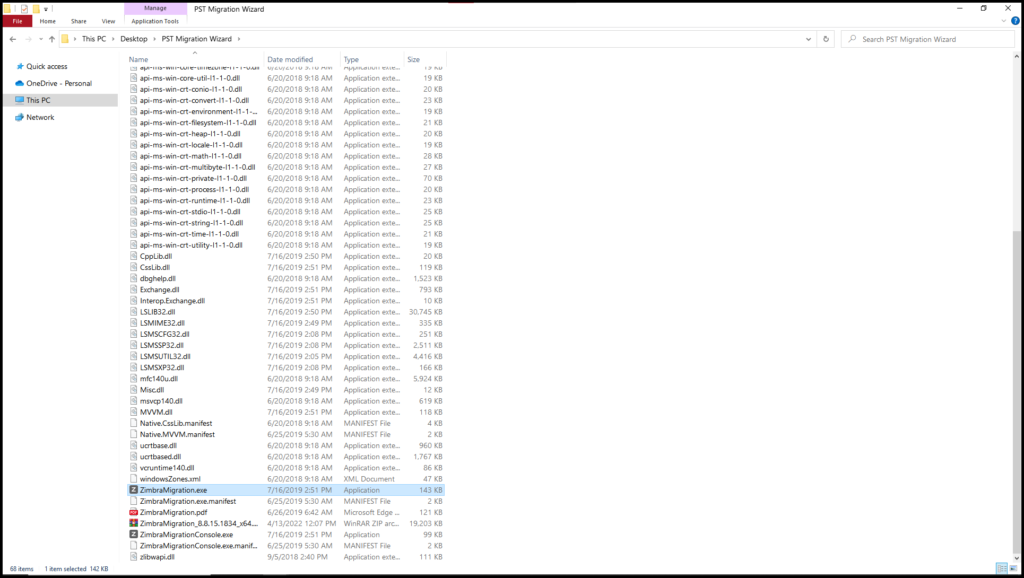
1. Unpack the PST Migration Wizard archive. Go to the folder with the unpacked files and run ZimbraMigration.exe. In order for the application to work correctly, Outlook must be installed on the computer. As a result of the migration, e-mails will be transferred, as well as calendar, contacts, and tasks data. Mail filters and Out of Office autoresponder settings will not be migrated.
2. In the window that opens, in the PST File section, click the ⋯ button and select the previously saved .pst file
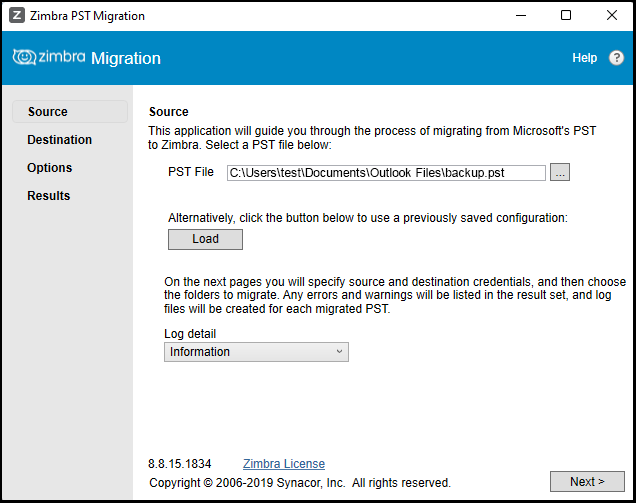
3. Click the Next button
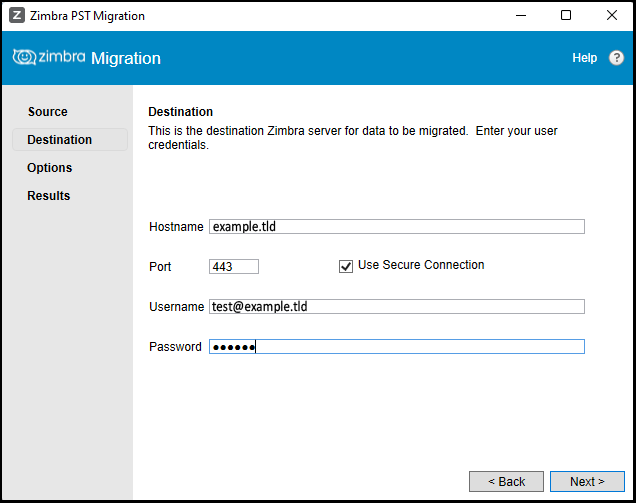
4. In the window that opens, fill in the fields using your account information:
- Hostname: example.tld
- Port: 443
- Use Secure Connection: Checked
- Username: Full name of your account
- Password: Password of your account
Click Next.
5. In the window that opens, configure the mailbox migration settings:
- Item Types: This allows you to select the items that will be migrated to Carbonio CE.
- Additional Folders: This allows you to select additional folders that will be migrated to Carbonio CE including Sent, Deleted Items, and Junk.
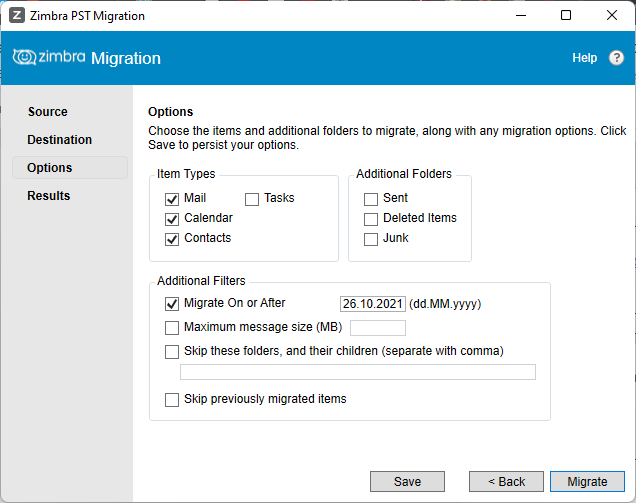
6. After completing the migration settings, click the Migrate button.
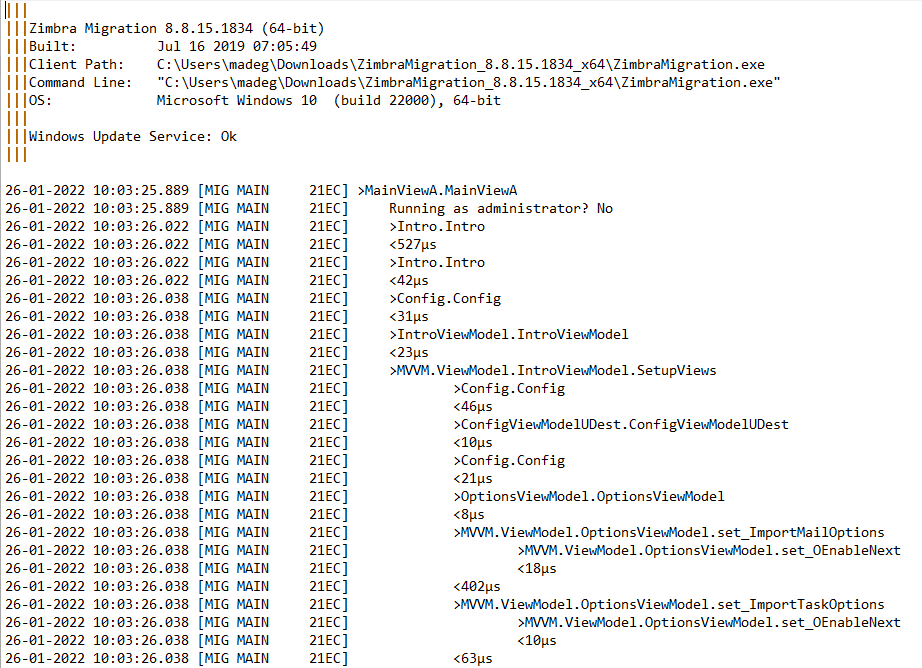
7. In the window that opens, a report will appear on the successful migration of data from Outlook. To see the details of the migration process, click on the Open Log File button
8. Click Exit to close the program.
After the migration is completed, verify the result. To do this, we will go to the Carbonio CE web client with the test account data and check the integrity of transferred e-mails, calendars, and contacts.
At the moment, only e-mails, calendars, and contacts can be transferred from Outlook to Carbonio. Data types such as mail rules and Out of Office autoresponder settings are not migrated.
