For additional guidance, check out our community articles detailing the process of migrating from your current platform to Carbonio CE.
For enterprise-level requirements and advanced features, consider checking out Zextras Carbonio – the all-in-one private digital workplace designed for digital sovereignty trusted by the public sector, telcos, and regulated industries.
Here we are again ! Ready for another stage in our journey to discover the Zimbra Web Client.
In the previous one, we discovered how to handle your account with some tips and tricks always useful to know. This time … * drum roll * … we will discover how to manage your email !!!
Ok Ok .. I know, that sound quite obvious, after all we are talking about a mail client. But you can’t imagine how many little things you can set up before just starting to send and receive mail. You know when you are full of notification, and dont’ want them, when you are full of messages but don’t know how to manage them. And what about all that annoying spam ?!
Great. We got it. So, fasten your seat belts, get comfortable, and let’s start discovering mail management with Zimbra Web Client
CUSTOMIZING INITIAL VIEW
The first thing you can manage is the view that comes to you after logging into your mailbox.
Basically, the “Inbox” folder is displayed. By accessing the “preferences” panel and selecting “mail”, you can change this view. Simply go to “default search” and edit the content by choosing what you would like to see:
Here, below, are some examples of what you can enter:
- is:undread – This option will let you see only unread messages
- tag:<tagname> – With this option you can display messages that have specific tags. For example, if you want to see only emails with tag “scheduled”, you can enter tag:scheduled
- in:<foldername> – This can be used to display emails sent to a specific folder by email filter. For example, the default one: in:inbox.
TIP: if you are willing to use more than one word, you need to use quotes: for example, in:”sent mail”
When you finish, simply click on “save” button to save settings.
BROWSE EMAILS BY CONVERSATION
A conversation is a set of emails grouped together so that it is easier to follow the topic in a mail exchange. It starts when you send o receive an email and then a reply or forwar is sent or received subsequent to the first one.
That’s how it works in the Conversation View, where your messages are grouped together based on conversation threads. The subject line is displayed only once in your inbox, while the number of email messages in the conversation is shown. Conversations that include unread messages are listed in bold with a blue dot to the left of the sender’s name.
Now, we see how it works, and that is how emails are viewed by default on your client. But what if you want to change that view? And, for istance, see messages one by one, not being grouped into conversations?
Change the Message View
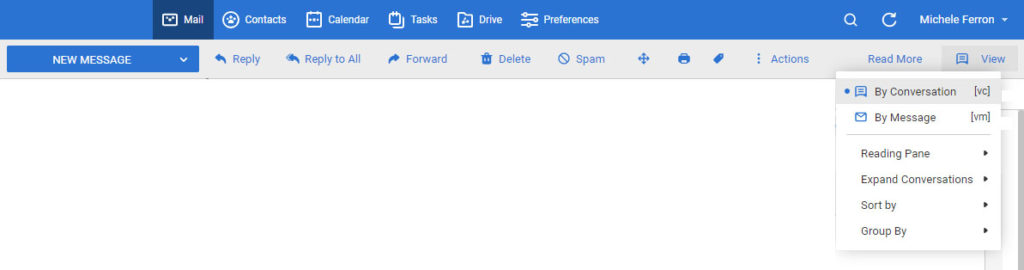
To reply to above question. We can do that easily, by changing the message view. All you have to do is go to “Mail Tab Toolbar”, click on “View” in the upper-right corner, and in the drop down menu coming up, select either “By Conversation” or “By Message”.
READING PANE
The reading pane is the space where you can see the preview of your messages. By default it is turned on, so when you higlight and click on a mail message, its content is shown in reading pane and the email turns to “marked as read”.
You can adjust the size of the panel by simply placing your mouse pointer on the vertical divider bar and drag it.
Reading Pane Options
You can decide where to place the Reading Pane according to your view, so it can be positioned at the right or bottom, or you can eventually decide to turn it off if you prefer to not show it.
To change those settings, simply click “View” drop-down menu from “Mail” tab toolbar and select “Reading Pane”.

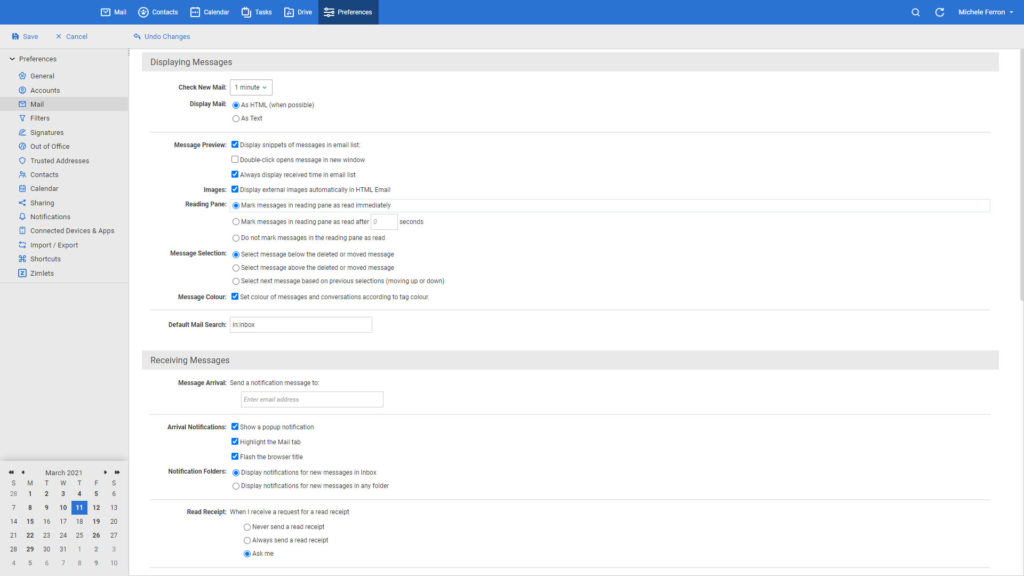
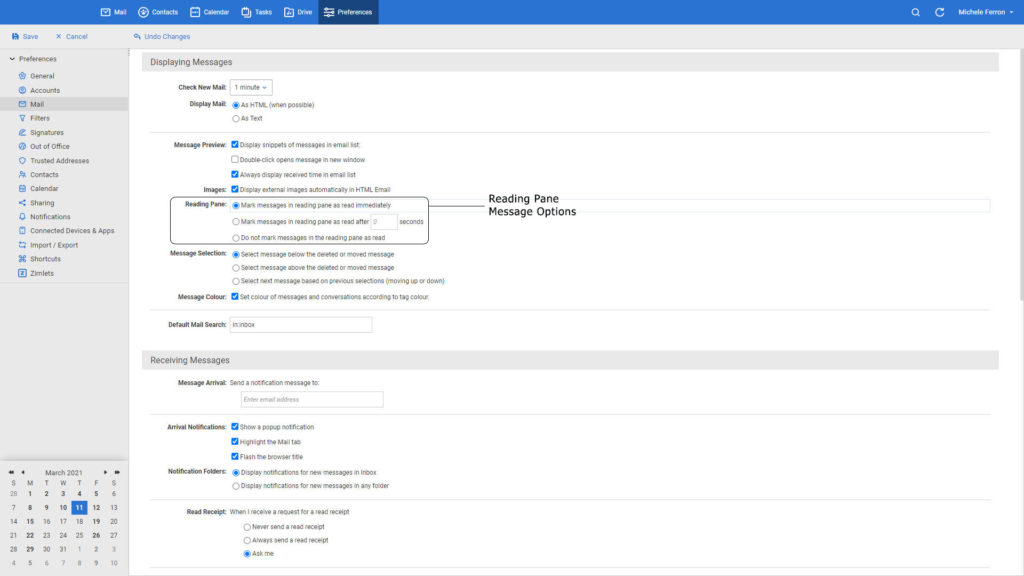
In addition to that, you can also decide wheter email messages in the Reading Pane are marked as read or not. To do so, you have to go to “Prefences → Mail” page. Under “Reading Pane” section you can choose between options and select the one you prefer.
When you’re done, click “save” to save your changes.
CHANGE THE NEW MAIL CHECK FREQUENCY
After a certain amount of time, your client automatically performs a New Mail check and notifies you if new messages appears. You can set the frequency of this check (by default is every 5 minutes) and eventually decide to do it manually.
To make changes, go to “Prefences → Mail” page. At the top you will find “Check New Mail” option with a drop down menu from where you can select the frequency time, from manually to 15 minutes. After making your selection, click “save” to save your changes.
Please note that if you select “manually” you will have to click on the reload icon to get new email.
My advice, unless you have special needs, is to select a fair amount of time and leave the automatic check option active, even just because if you leave it manual you may forget about it, in addition to being forced every time to press the refresh button.
NEW MAIL DESKTOP ALERT
And now … finally let’s discover how we can manage the desktop alerts for new mails, so we can decide how we want those notifications to be shown.
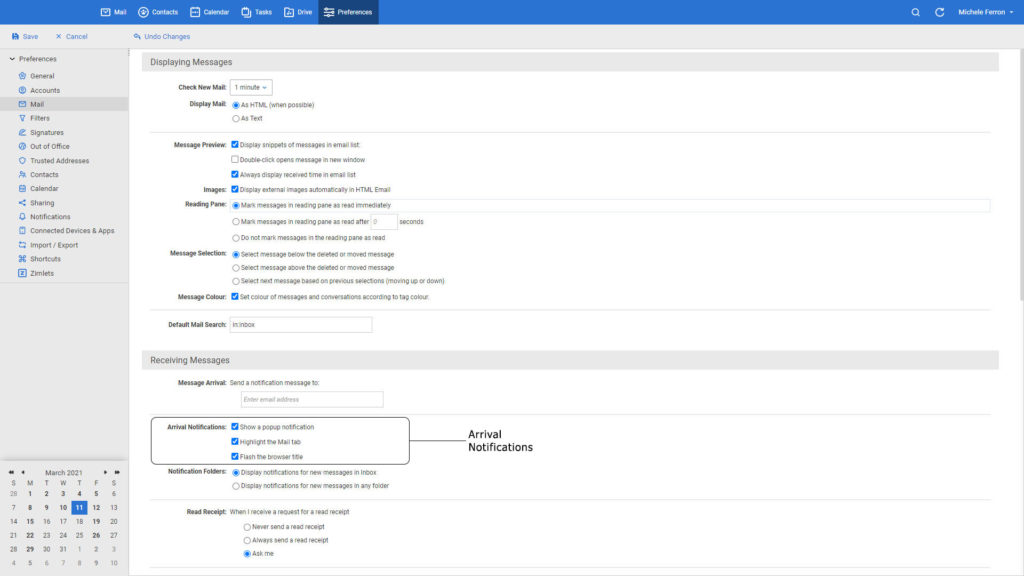
Go to “Prefences → Mail” page. You will find, under “Receiving Messages”, a section called “Arrival Notification” section. Here you can choose between different options:
- Show a popup notification – A popup comes out with information about the message
- Highlight the Mail tab – The mail tab is highlighted while you are not working on that
- Flash the browser title – The browser will flash until you open the mail tab
Moving Less Important Mail Out of the Inbox
When you start receiving many emails and you want to make some order to your inbox, usually you want to start with less important ones, for example newsletter messages.
In Zimbra Web Client you can set up the Activity Stream filter to have those messages delivered to this specific folder instead of inbox. To activate this option, you have to:
Click the “gear icon” you can find in heading part of mail folders navigation in the “mail tab”, and then select “Activity Stream” from the menu.

A dialog box with some options will appear:
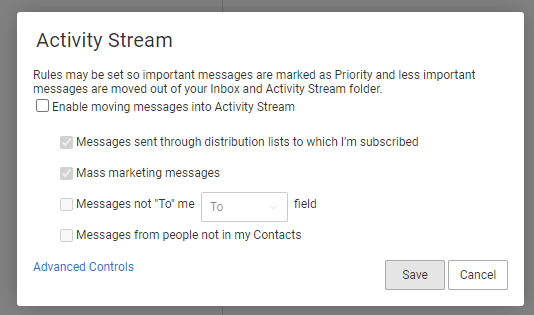
By enabling Activity Stream in this box, you can choose which kind of messages you prefer to move to Activity Stream folder. When you have finished, click “save”.
TIP: If you click on “Advanced Controls” you can select more filtering options. For an in-depth on mail filtering I suggest to read this article.
INTERACTING WITH ANOTHER MAIL ACCOUNT
If you have another mail account, a secondary one, a personal one, different from your work one or other similar, well you may want to know you have two interesting options you can use to manage mail messages.
Automatic message forwarding
The first option you can choose let you automatically forward to another account one or more messages you receive. To do that, you can go to “Prefences → Mail” page. Then, under “Receiving Messages” you will find a text box named “Message Arrival: Forward a copy to”. Enter the mail address where you want to send mails. When finished, click “save”.
If you don’t want your messages to be saved in your mailbox, just select “Remove local copy of message”
Receiving New Mail Notification to Another Email Address
Another interesting option is to configure your preferences to notify on another mail address when new mail arrives to your Zimbra mailbox. It’s a feature that can be useful also, for example, in situations when you have an account where you don’t receive many emails but you want to know when something arrives.
To enable this option, go to “Prefences → Mail” page, then under “Receiving Messages” – “Message Arrival” section you will find a box named “Send a notification message to”. Select the mail address you want and when you finish click “save”.
WORKING WITH MORE THAN ONE MAIL AT A TIME
In many situations it happens that you want to do an action for multiple mail message at the same time and you for sure don’t want to repeat that one for each of the mail messages. Here we are to show you how to perform actions on multiple messages.
Marking Multiple Messages for the Same Action
Select one or more messages by ticking the box next to each one in your mail view.
TIP: If you tick the box in header, you will automatically select all the messages from that page.
After selecting messages, you can perform some actions by “right clicking” on the selected one(s):
- Delete
- Tag
- Tag Conversation
- Forward – with this option, a composing page with the selected email messages attached opens
Moving Email Messages
To move email messages or full conversations from a folted to another, you can choose between two possible solutions:
- Simply drag and drop items from one folder to the destination one in Overview pane
- Right click on the message(s) and then select “Move”. In the dialog box that opens simply select the destination folder. Click “ok”
TIP: you can immediately undo the move, if you feel something has been done wrong. To do that click “undo” which appears at the top of the page
Sorting and Grouping Messages
Mail messages can be sorted, one column at a time, by Subject, Size, Date, Attachment, Flag, Priority, or All/Unread. To do so, you simply have to right-click on “Sorted by” in the Content Pane header and then select your desired option. Then you can choose if you prefer to display in ascending or descending order by clicking the arrow next to your selected option.
You can also, in your folder, group messages by date or size and decide if you prefer them sorted by ascending or descending order. To do so, you have to proceed similarly to the above step. So, simply right click on “Sorted by” in the Content Pane header and then select “Group by” and choose your preferred option.
And we are at the conclusion of this article. I hope you enjoyed it. But since we’re not done with mail management, here are some more articles related to this one that you may want to read:
- MANAGING SPAM – How to manage spam mail in your webclient
- READING MAIL – Not only how to read email, but some nice options you can choose from
- PRINTING MAIL – How to print email